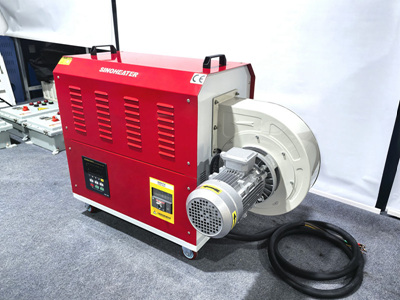
Step-by-Step Guide to Removing Wall Stickers Using a Hot Air Blower
Removing wall stickers with a hot air blower is an efficient method that minimizes damage to surfaces while ensuring complete adhesion breakdown. This process requires careful temperature control, airflow management, and patience to achieve optimal results. Below are detailed steps for safely and effectively removing wall stickers.
Preparing the Work Area and Tools
Before starting, clear the surrounding area of furniture or decorations to prevent accidental damage. Lay down protective sheets or old towels to catch any falling adhesive residue. Ensure the wall sticker and surrounding surface are clean and free of dust, as debris can interfere with the heating process.
Equip yourself with a hot air blower, a plastic scraper or putty knife, and a clean cloth for wiping away residue. If the sticker has been on the wall for an extended period, consider using a mild adhesive remover for stubborn spots, though this is optional.
Adjusting the Hot Air Blower Settings
Set the hot air blower to a low or medium heat setting to avoid overheating the wall surface. Plastics and adhesives typically soften between 60–90°C, but walls painted with latex or oil-based paints may tolerate slightly higher temperatures. Start with the lowest setting and gradually increase it if the sticker does not respond.
Maintain a distance of 5–10 cm between the nozzle and the sticker to ensure even heat distribution. Moving the blower too close can scorch the paint or wall material, while holding it too far may reduce effectiveness. Use a sweeping motion to cover the entire sticker area uniformly.
Heating and Lifting the Sticker Edges
Focus the hot air on one corner or edge of the sticker for 10–15 seconds. The heat will soften the adhesive, making it easier to peel. Gently lift the edge with your fingernail or a plastic scraper. If the sticker resists, apply heat for another 5–10 seconds and try again.
Once the edge is lifted, continue heating the adjacent section while slowly pulling the sticker away at a 45-degree angle. This angle reduces the risk of tearing the sticker or leaving adhesive behind. Work in small sections, heating and peeling simultaneously to maintain control.
Handling Stubborn or Multi-Layer Stickers
For stickers with multiple layers or thick adhesive backing, apply heat to the entire surface in overlapping passes. Use a circular motion to ensure the adhesive beneath each layer is adequately softened. If the sticker tears during removal, reheat the remaining pieces and continue peeling.
If residue remains after the sticker is removed, reapply heat to the affected area and gently scrape it away with the plastic scraper. Avoid using metal tools, as they can scratch the wall surface. For persistent residue, dampen a cloth with rubbing alcohol or a mild adhesive remover and blot the area lightly.
Post-Removal Cleanup and Surface Restoration
After removing the sticker, inspect the wall for any remaining adhesive or paint damage. Wipe the surface with a damp cloth to remove loose residue. If the paint appears dull or scratched, consider touching it up with matching paint. For minor imperfections, a light sanding followed by repainting may be necessary.
Dispose of the sticker and adhesive residue responsibly. If the sticker contains vinyl or plastic components, check local recycling guidelines for proper disposal. Clean your tools thoroughly to ensure they are ready for future use.
Safety Precautions During the Process
Always wear heat-resistant gloves to protect your hands from burns. Keep the hot air blower’s cord away from wet surfaces to prevent electrical hazards. Work in a well-ventilated area to avoid inhaling fumes from heated adhesives or paints.
If the wall sticker is near electrical outlets or switches, turn off the power to the area before heating. Avoid directing hot air onto plastic or vinyl-coated wallpapers, as they may melt or warp. If you notice the wall surface becoming discolored or bubbling, stop heating immediately and reassess your approach.
By following these steps, you can remove wall stickers efficiently while preserving the integrity of the underlying surface. Patience and careful heat application are key to achieving a clean, damage-free result.


