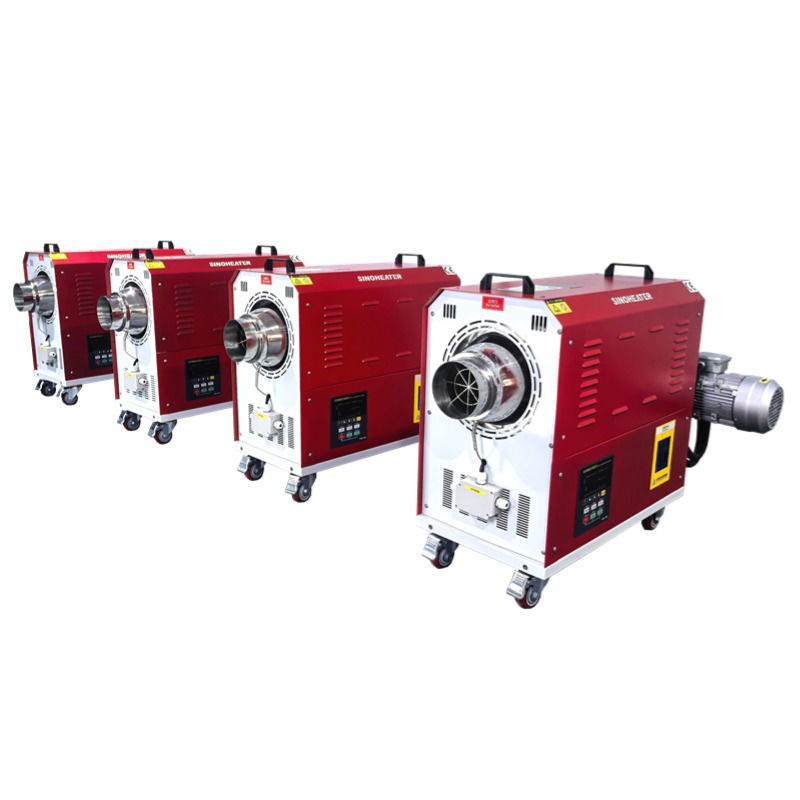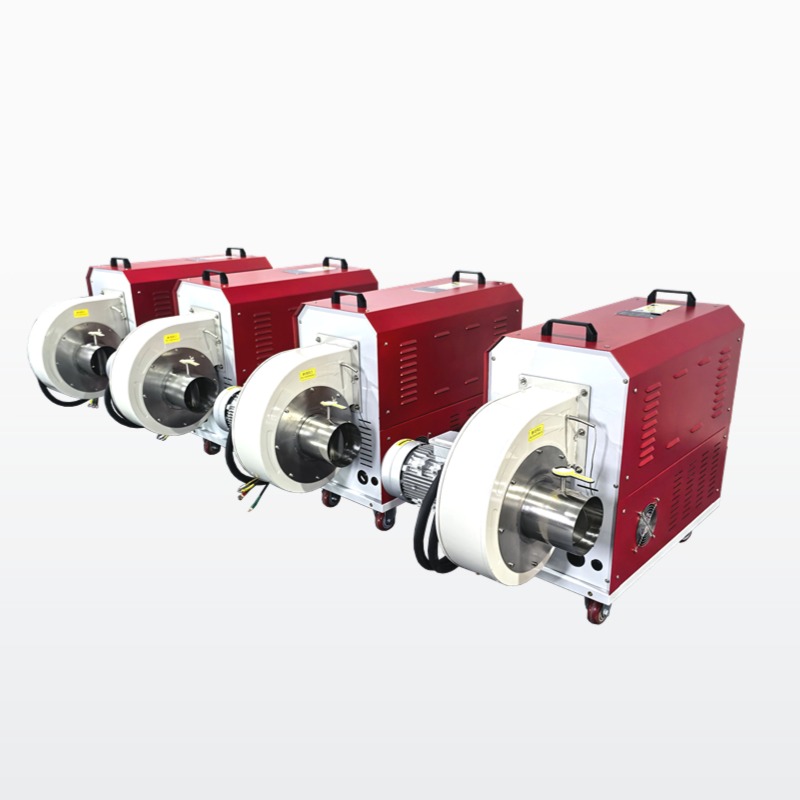
Hot Air Blower Housing Cleaning: Why That Grime on the Outside Is a Bigger Problem Than You Think
Nobody looks at a hot air blower and thinks about cleaning the outside. It gets shoved on a shelf, bolted to a bracket, or tucked into a corner of the workbench. Dust settles. Flux splatters land. Grease smears across the housing. And over time, that layer of grime does something most people never consider — it insulates the blower and messes with its thermal performance.
Cleaning the exterior isn’t about making things look nice. It’s about keeping the blower running the way it’s supposed to.
What Actually Happens When the Housing Gets Dirty
Dust and Grease Act as Insulation
The blower’s metal housing is designed to dissipate heat. It radiates warmth away from the motor and the control board. But when a thick layer of dust and grease coats the outside, that heat has nowhere to go. The insulation effect traps heat inside the unit. The motor runs hotter. The control board ages faster. The internal temperature climbs even though the blower is doing the same work it always did.
This isn’t theoretical. Thermal imaging of dirty blowers shows surface temperatures 15 to 25°C higher on the housing compared to clean ones. That extra heat doesn’t just sit there — it shortens component life.
Flux and Chemical Residue Eat Away at the Finish
In soldering and electronics work, flux splatter is unavoidable. That residue looks harmless. But most fluxes are mildly acidic. Left on the housing, they slowly corrode the paint, the powder coat, and eventually the bare metal. Once the protective coating breaks down, moisture gets in. Rust follows. And rust spreads fast on a blower that sits in a humid workshop.
Grime Hides Early Warning Signs
A crack in the housing. A loose screw. A frayed power cord. A dent near the air intake. When the blower is clean, you see all of these immediately. When it’s covered in grime, you don’t. Small problems become big ones because nobody noticed them until something actually broke.
How to Clean the Blower Housing Without Causing Damage
Use the Right Cleaner for the Right Surface
Most blower housings are powder-coated steel or high-temperature plastic. For powder-coated metal, a mild degreaser and warm water work fine. Avoid abrasive pads — they scratch the coating and create spots where corrosion can start later. For plastic housings, use isopropyl alcohol or a non-abrasive plastic cleaner. Never use acetone on plastic unless you’re certain the material can handle it.
For flux residue, a dedicated flux remover works best. Apply it, let it sit for a minute, then wipe it off with a lint-free cloth. Don’t scrub — let the chemistry do the work.
Don’t Spray Liquid Directly Into the Unit
This sounds obvious, but it happens constantly. People aim a spray can at the housing and end up pushing liquid into the air intake, the motor vents, or the control board area. Water inside a blower is a disaster. It causes short circuits, corrodes internal components, and can ruin the heating element.
Spray the cloth, not the blower. Wipe down the exterior only. Keep all liquids away from openings, seams, and vents.
Clean the Intake and Exhaust Vents Too
The housing isn’t just the flat surfaces. The intake grille and the exhaust vent are part of the exterior, and they collect the most dust. Use compressed air to blow out the grille slats. If the dust is packed tight, remove the grille if possible and soak it in warm soapy water, dry it completely, and reinstall it.
A blocked intake restricts airflow. A blocked exhaust traps heat. Both problems start on the outside and work their way in.
How Often Should This Actually Happen
Weekly in Heavy-Use Environments
If the blower runs daily in a dusty, flux-heavy, or greasy environment, wipe it down at the end of every shift. It takes two minutes. A dry cloth removes surface dust. A damp cloth removes flux and grease. That’s it.
Bi-Weekly for Moderate Use
For blowers used a few times a week in relatively clean conditions, every two weeks is enough. Set a recurring reminder. It’s not glamorous work, but it prevents the slow decay that nobody notices until it’s too late.
Monthly at Minimum, No Exceptions
Even if the blower sits idle most of the time, dust still settles. A monthly cleaning keeps the housing in check and gives you a chance to inspect for damage, loose parts, or wear.
What to Look for While You’re Cleaning
This is the part most people skip. While you’ve got the cloth in your hand, actually look at the blower.
Check the power cord for fraying or cracking near the plug. Check the housing for dents, especially around the air intake — a dent there can restrict airflow without you realizing it. Check the mounting brackets or feet for looseness. Check the nozzle attachment for cracks or warping from heat exposure.
A five-minute cleaning that includes a visual inspection catches more problems than a quarterly maintenance form that nobody fills out honestly.
The Real Cost of a Dirty Blower
It’s not about appearances. A dirty blower runs hotter, fails sooner, and hides the damage that leads to unexpected downtime. The cleaning takes minutes. The repair takes hours. The replacement takes days.
The blower on your bench right now probably hasn’t been cleaned since you unpacked it. That layer of dust isn’t just sitting there. It’s working against you — slowly, quietly, every single day.
Grab a cloth. Wipe it down. And while you’re at it, actually look at the thing. You might find something that needs fixing before it finds you.