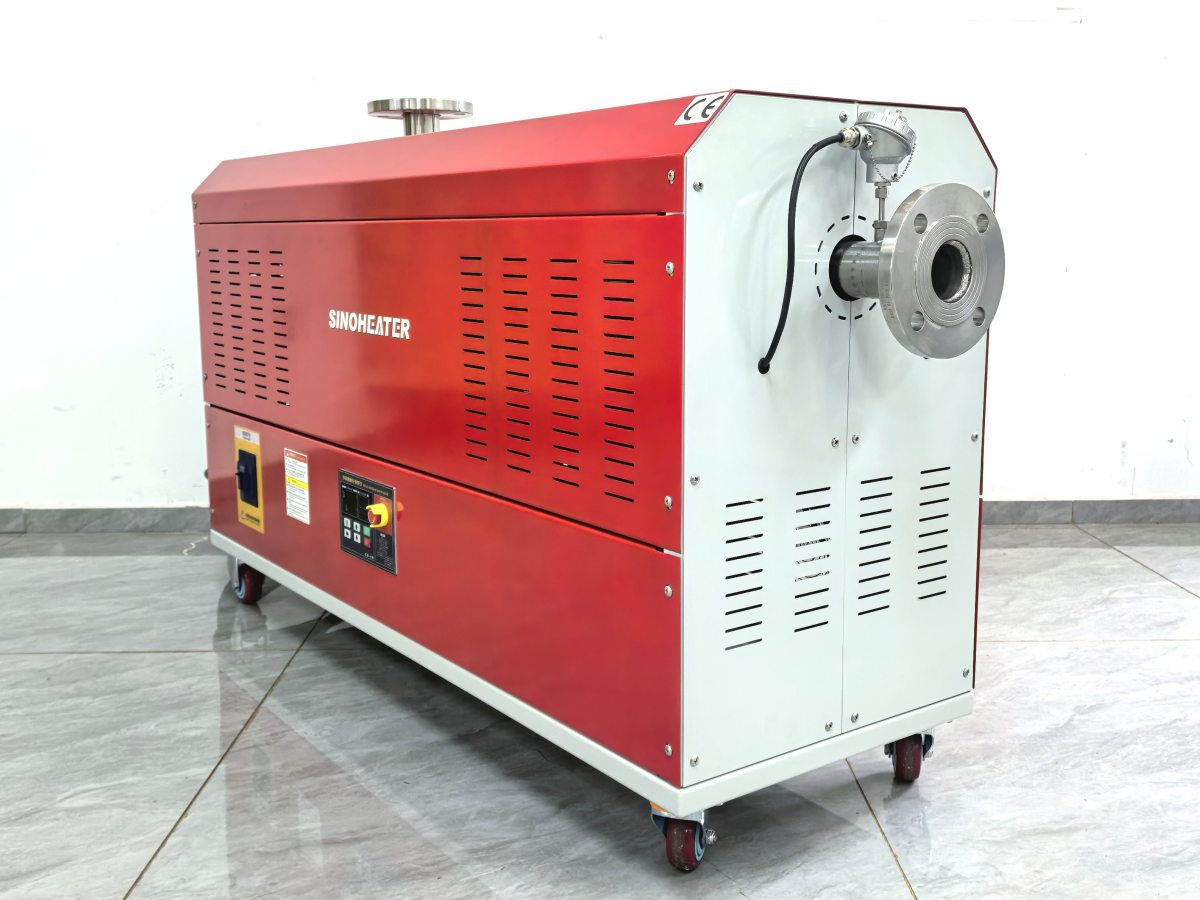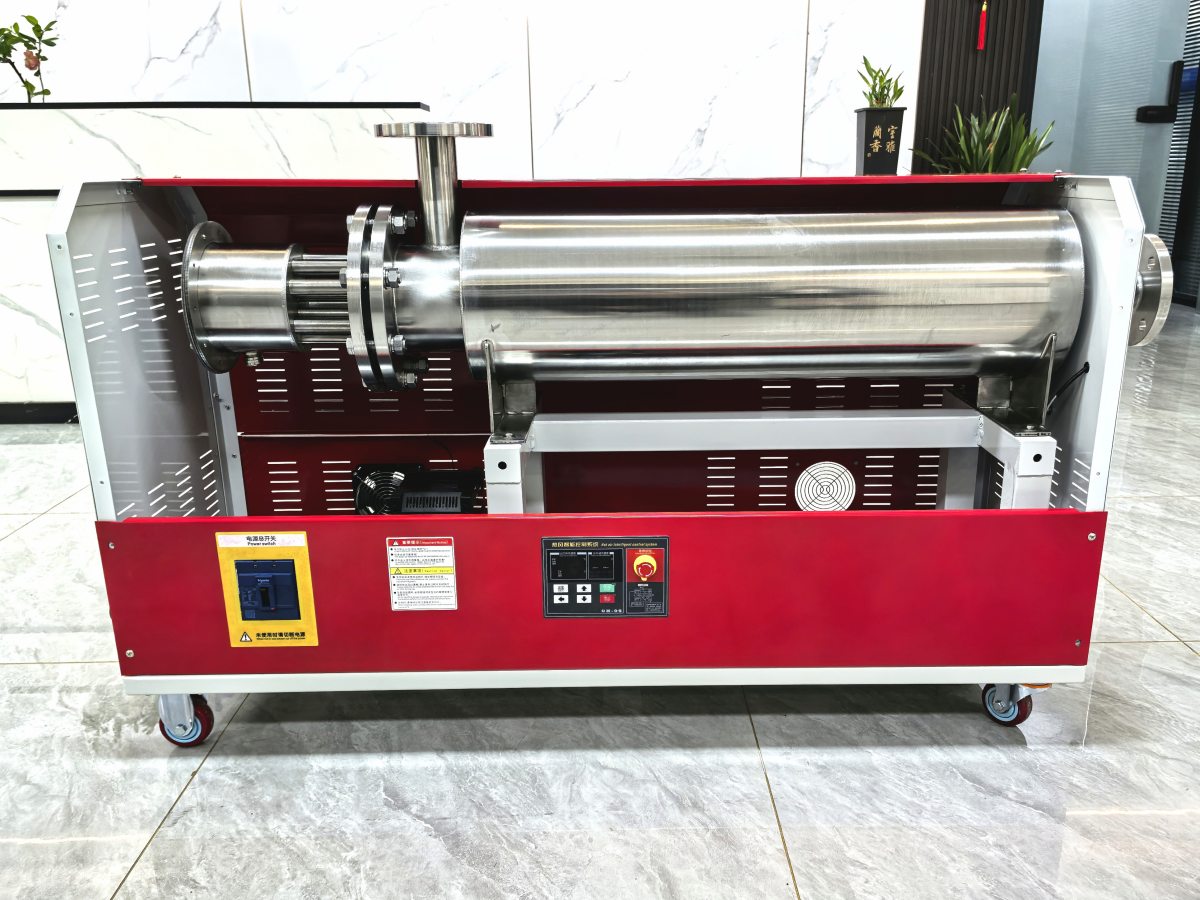
Using a hot air blower for flattening handmade leather goods is a widely adopted technique among artisans to remove unwanted wrinkles, creases, and uneven surface warping that naturally develops during cutting, stitching, or prolonged storage. The controlled application of gentle, evenly distributed heat softens the leather fibers just enough to allow them to be reshaped into a perfectly flat, smooth form, without the harsh pressure or moisture exposure that can distort fine leather grain or damage delicate hand-finished surface details.
Pre-treatment leather condition and workspace preparation
Before introducing any heat to the leather surface, lay the item out on a clean, flat, heat-resistant work surface that will not transfer unwanted texture or stick to the leather as it warms. Inspect the full piece carefully to identify the fiber direction, existing crease depth, and any delicate hand-applied details such as edge dye, embossed patterns, or thin decorative inlays that require extra care to avoid heat-related damage. If the leather has been stored in a very cold or extremely dry environment, let it acclimate to normal room temperature for 15 to 20 minutes before starting, to prevent sudden thermal shock that could cause the material to stiffen or develop unexpected fine cracks. Keep a set of smooth, non-abrasive weight blocks and a clean, lint-free pressing cloth within easy reach, so you can secure the flattened shape immediately after heating, before the leather fibers cool and set back into their original wrinkled form.
Controlled hot air application technique for even flattening
Hold the hot air blower at a consistent 15 to 20 centimeter distance from the leather surface, and keep the device in constant slow, sweeping side-to-side motion at all times, never letting it stay pointed at a single fixed spot for more than two seconds. Move across the surface in overlapping broad strokes, distributing the warm air evenly across the full area rather than focusing heat directly on the deepest creases first, which could cause uneven fiber contraction and create new, harder-to-remove wrinkles. As the leather begins to warm and soften under the airflow, you can gently smooth the surface with the flat palm of your hand or a smooth plastic burnisher, working in the direction of the natural leather grain to guide fibers back into a flat, aligned arrangement. Avoid applying excessive heat that causes the leather to feel overly hot to the touch, as this can dry out natural oils inside the material, leading to permanent brittleness, discoloration, or surface grain shrinkage that ruins the handcrafted finish.
Post-heat setting and fine detail correction
Immediately after you finish heating a section of the leather, lay the clean lint-free pressing cloth over the warm surface and place the smooth weight blocks across the full area to hold it completely flat as it cools down to room temperature. Do not remove the weights or attempt to handle the piece until it has fully cooled, as the fibers are still in a flexible state and can easily shift back into a warped shape if disturbed too early. For small, localized stubborn creases that do not fully flatten in the first pass, you can repeat the gentle hot air process only on that specific small area, using a piece of thick paper to shield the surrounding already-flattened sections from extra heat exposure. Once the entire piece has cooled and set completely, do a final visual and tactile check across the full surface to confirm all wrinkles are gone, and the leather retains its original soft, natural texture without any signs of overheating or surface damage.