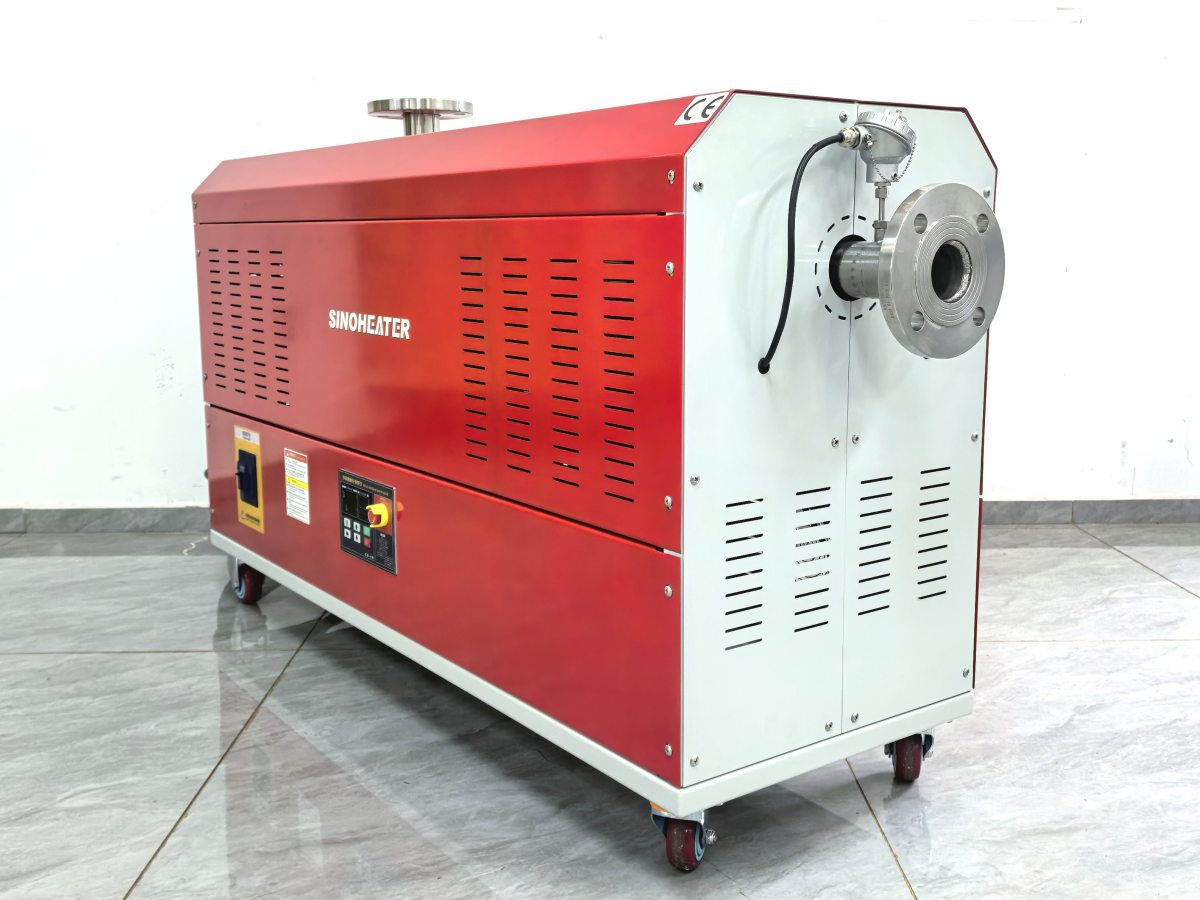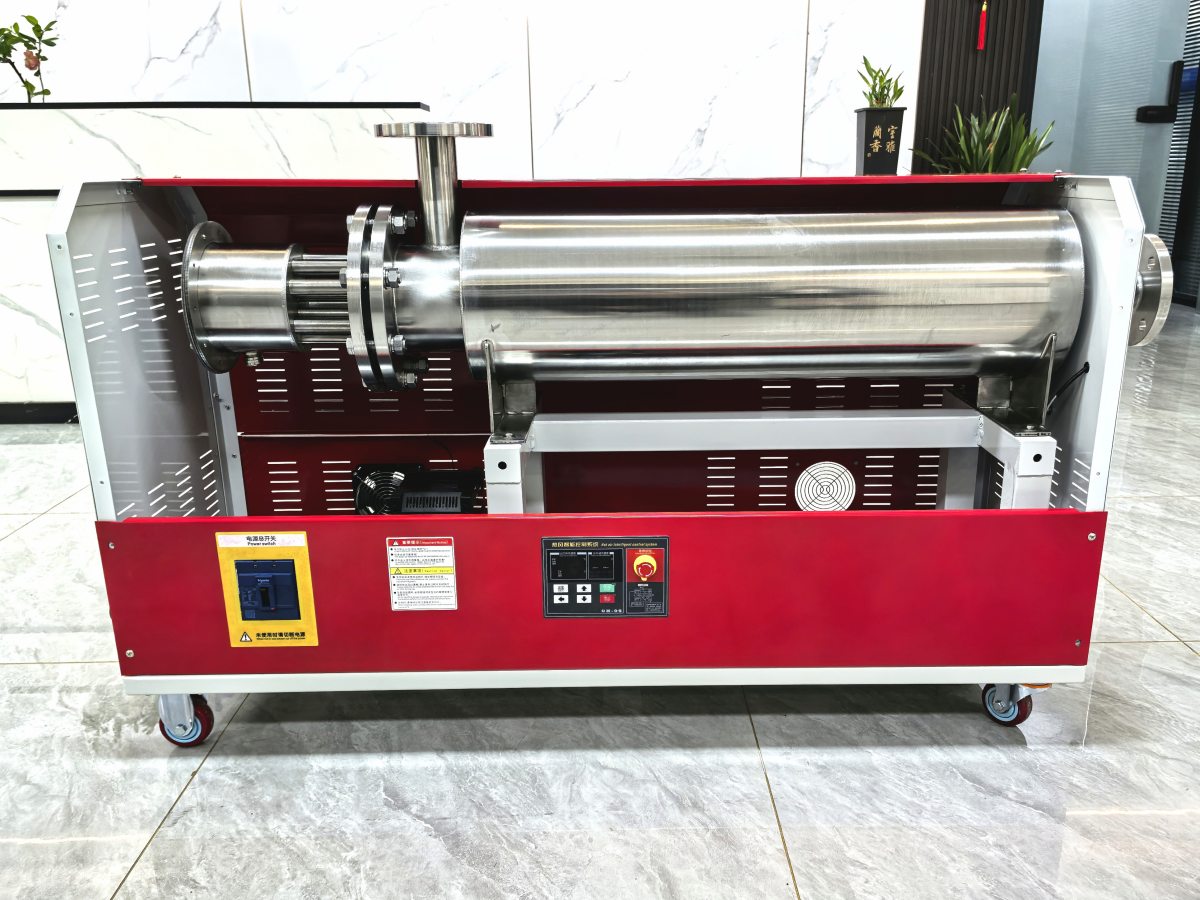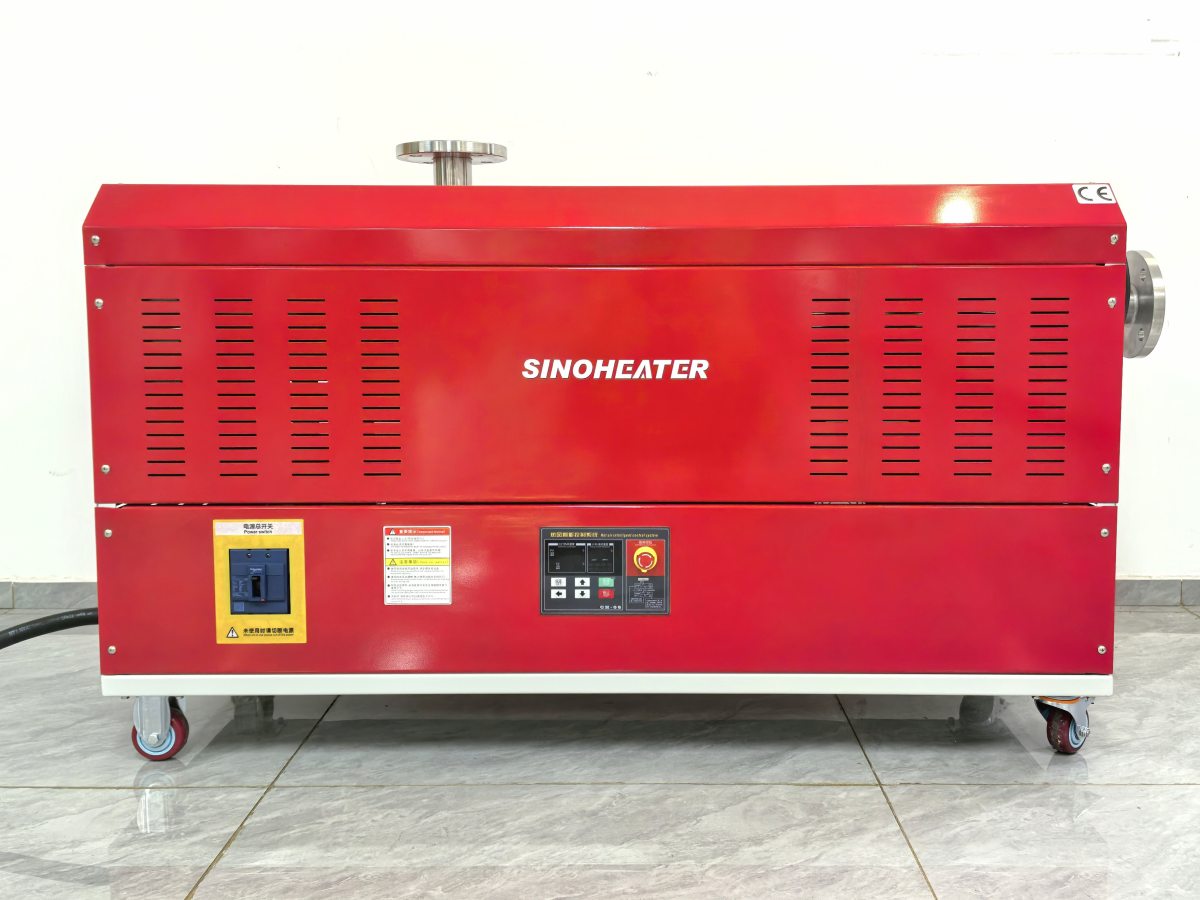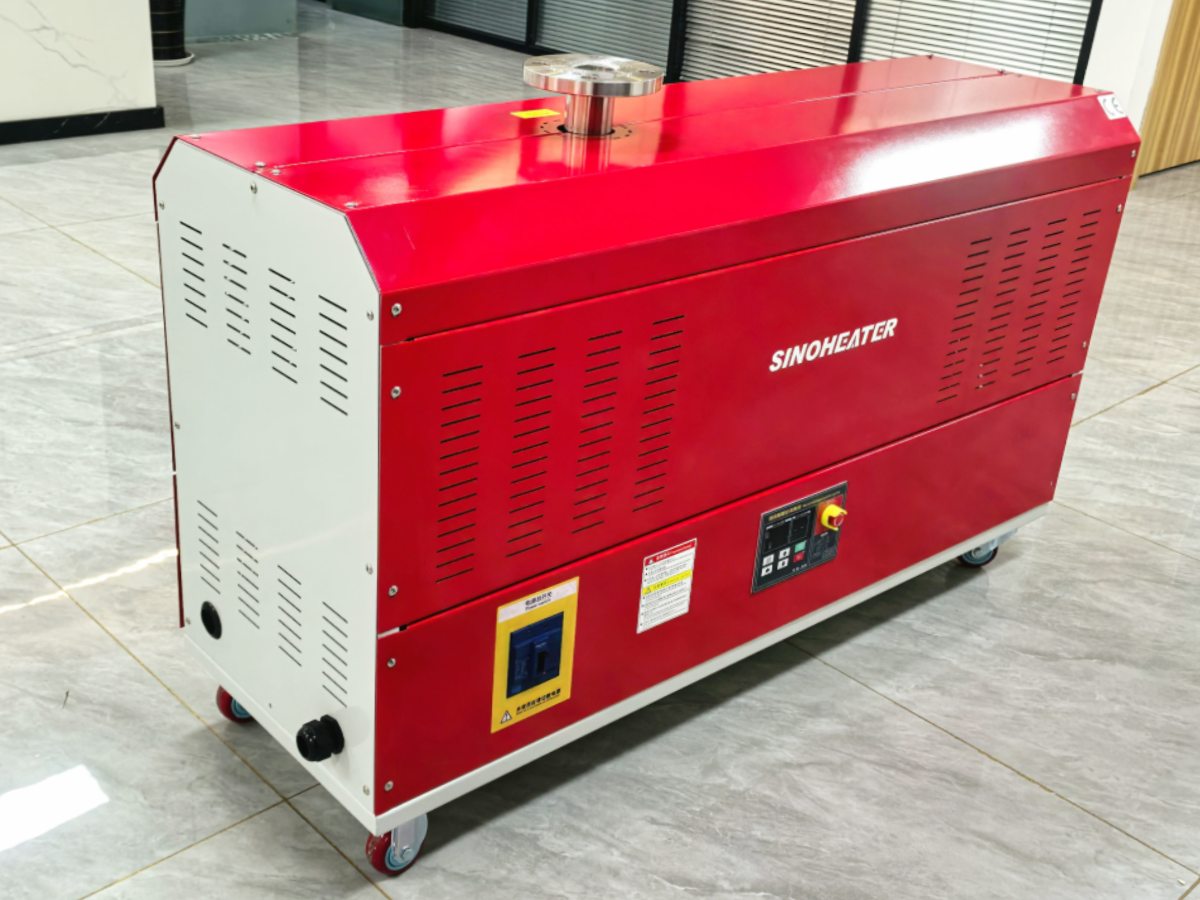
Vertical fixed base installation for a hot air blower creates a stable, vibration-free mounting platform that keeps the unit aligned consistently during extended high-temperature operation, eliminating the safety risks and performance drift that come from temporary, unsecured placement. Many operators skip full structured installation and rest the unit on a flat surface without proper anchoring, only to find the blower shifts position under sustained airflow, vibrates loose over hours of continuous runtime, or creates unintended clearance gaps that expose nearby combustible materials to excess radiant heat. These field-proven step-by-step installation procedures are built to deliver full long-term stability, proper thermal clearance, and consistent operational safety for all vertical mounting configurations.
Site layout and pre-installation clearance verification
Start the full process by mapping out the exact vertical mounting position, to confirm every required minimum clearance distance is met before any drilling or anchoring work begins. Mark the full perimeter of the base footprint on the mounting surface, then measure and confirm no combustible building materials, loose wiring, or stored flammable items sit within the required safety buffer zone around the blower’s heat exhaust and outer housing. Check that the mounting surface itself has sufficient structural strength to support the full static weight of the unit, plus the additional dynamic load created by long hours of high-speed fan operation. Confirm that the power supply connection point sits within easy reach of the final mounted position, with no stretched, kinked, or sharply bent power cables that could overheat during continuous runtime. This preliminary check eliminates 90 percent of avoidable installation errors before any permanent modifications are made to the site.
Base plate anchoring and level alignment
Place the metal base plate onto the pre-marked mounting position, then use a precision spirit level across both horizontal axes to confirm the plate sits perfectly flat, with no tilt or uneven elevation that would make the full blower unit lean after installation. Mark the exact location of every anchor bolt hole through the plate’s mounting slots onto the underlying surface, then drill each hole to the exact specified depth and diameter for the selected anchor fastener. Clear all loose dust and debris out of each drilled hole before inserting the anchor, then tighten every bolt gradually and in a diagonal star pattern, so clamping pressure spreads evenly across the full base plate without warping or bending the metal. After all bolts are hand-tightened, recheck the level across the plate surface one more time, to confirm no subtle shift happened during the anchoring process. This step creates a perfectly stable, vibration-resistant foundation that will not work loose even after thousands of hours of continuous fan operation.
Blower unit mounting and rigid connection check
Lift the hot air blower unit carefully onto the fully anchored base plate, then align the unit’s lower mounting lugs perfectly with the pre-drilled connection points on the base. Insert all connection fasteners by hand first, to avoid cross-threading any of the mounting threads, then tighten each fastener gradually to the recommended torque value, again following a diagonal tightening sequence to distribute clamping force evenly across the full joint. Once the unit is secured to the base, apply steady side-to-side and forward-backward manual pressure to confirm no play, wobble, or movement exists at the connection point. Double-check that the air inlet and exhaust paths are fully unobstructed, with no part of the base plate or mounting structure blocking airflow into the fan or out of the heat outlet. This rigid, zero-play connection ensures no operational vibration will loosen the unit over time, preventing slow alignment drift that could redirect hot exhaust air toward unintended surfaces.
Pre-power-on test run and thermal stability validation
Before running the unit at full operating temperature, complete a low-speed, room-temperature test cycle to confirm the fan spins smoothly, with no unusual grinding noise, excessive vibration, or unbalanced rotation that signals misalignment during startup. Let the unit run in this low-power state for 10 to 15 minutes, while monitoring the base plate and anchor points to confirm no shifting or resonance vibration is being transferred into the mounting surface. Gradually ramp the unit up to its full operating temperature, and check the temperature of the base plate and mounting surface at regular intervals to confirm no excess heat is being conducted down into the foundation. Verify that the vertical alignment of the hot air exhaust stream stays perfectly consistent, with no unintended drift that would push hot air outside the intended target area. This final validation step confirms the full installation is fully stable, thermally safe, and ready for long-term continuous operation.