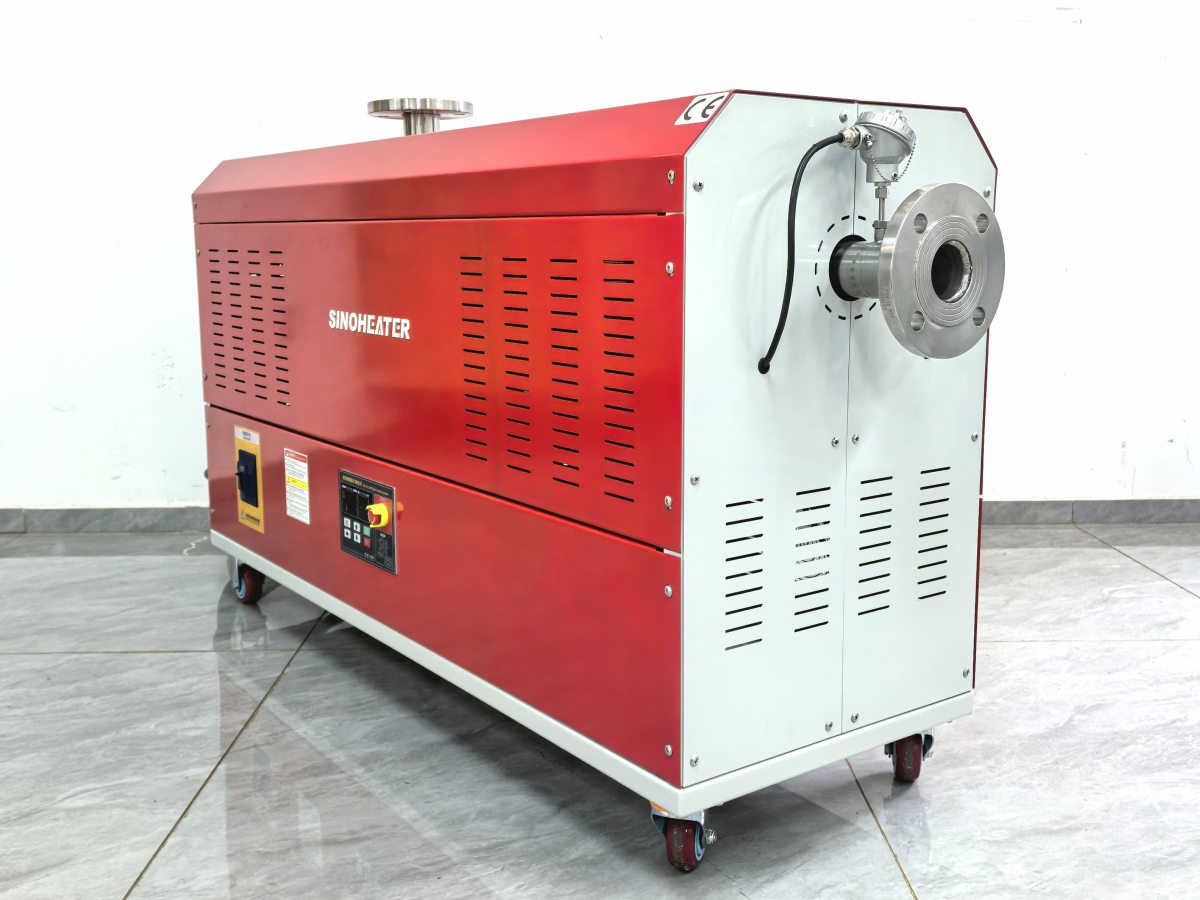
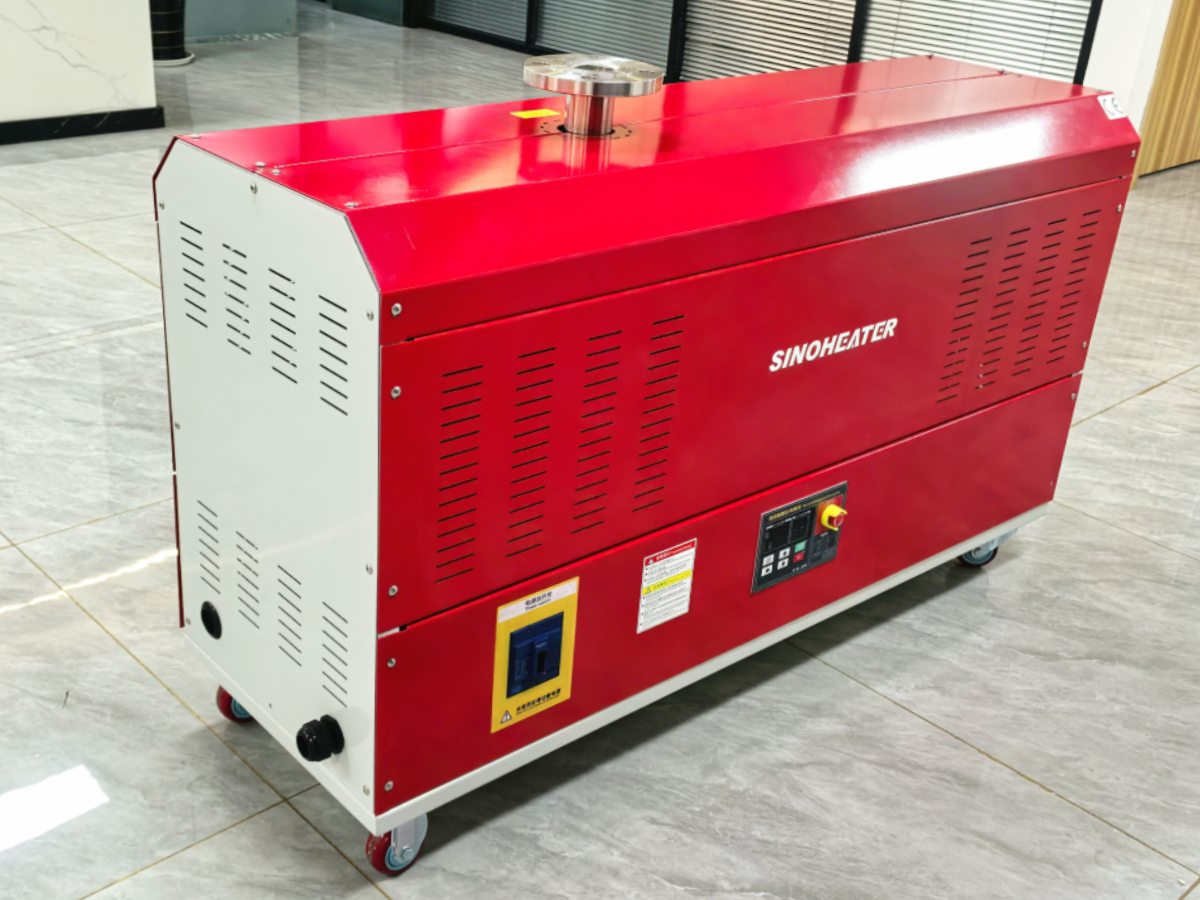
Hot Air Blower Frost Protection Test After Installation: Making Sure Your Unit Survives the Cold
Heat blowers in cold environments face a threat most people never think about — freezing. When the power cuts out or the unit sits idle during a deep freeze, water inside the system can turn to ice. Ice expands. Expansion cracks heat exchangers, splits housings, and destroys fan blades. By the time you notice the damage, the repair bill is already written.
Frost protection is the feature that prevents all of this. But here is the catch — just because the blower has a frost protection mode does not mean it actually works in your specific installation. Wiring errors, sensor placement, and ambient conditions can all sabotage the system. Testing it after installation is the only way to know for sure.
How Frost Protection Actually Works in a Hot Air Blower
The Basic Idea Behind Anti-Freeze Mode
Frost protection kicks in when the ambient temperature drops below a set threshold — usually somewhere between 38 and 45 degrees Fahrenheit. When that happens, the blower does one of two things. Either it runs the fan at low speed without heat to keep air moving through the system, or it activates a low-power heating element just enough to keep the internal temperature above freezing.
Some units also drain water from the heat exchanger before it can freeze. A small pump or a gravity drain opens a valve and lets any condensed moisture escape. This is common in units that double as water heaters or that have significant condensation buildup during operation.
The goal is simple — keep every wet surface inside the blower above 32 degrees Fahrenheit at all times. Even a thin layer of ice on the fan blades can throw the whole unit off balance and destroy the motor.
Where the Frost Sensor Lives and Why Position Matters
The frost sensor is usually a small thermistor or bimetallic strip mounted on the heat exchanger or inside the air duct. It reads the temperature of the coldest point in the system — the spot most likely to freeze first.
If you mount the sensor in the wrong place during installation, it reads the wrong temperature. A sensor stuck on the outer housing will read ambient air temperature, not the internal temperature where ice actually forms. The blower thinks everything is fine while the heat exchanger is turning into a block of ice.
During installation, make sure the sensor sits on or near the heat exchanger, not on the casing. Use thermal paste or a mounting clip to ensure good contact. A sensor that is loose or poorly connected gives erratic readings and defeats the entire purpose.
How to Test Frost Protection After Installation
Simulating a Power Outage in Freezing Conditions
The most realistic frost protection test mimics what happens when the power goes out during a cold snap. The blower is running normally, then you cut the power and let it sit in a cold environment.
You do not need to wait for an actual freeze. A standard household freezer works fine for this test. Place the blower or at least the heat exchanger section inside the freezer and set it to 0 degrees Fahrenheit. Let it sit for 2 to 3 hours.
After the soak, restore power and watch what happens. A working frost protection system should activate within 30 to 60 seconds of power restoration. The fan should spin up at low speed, or the low-power heater should kick in. You should hear or feel the unit come alive even though the ambient temperature around it is still well below freezing.
If nothing happens after 2 minutes, the frost protection is not triggering. Check the sensor wiring, the thermostat settings, and the control board. Something is not connected or configured correctly.
Testing the Drain Function If Your Unit Has One
Not every blower has a drain, but if yours does, this test is critical. Fill the heat exchanger with a small amount of water — just enough to simulate condensation buildup. Then trigger the frost protection mode by lowering the ambient temperature or using the test button on the control panel.
Watch the drain valve or pump. It should open within 1 to 2 minutes of activation. Water should flow out of the drain line. If the valve does not open, the drain is clogged, the pump is dead, or the control signal is not reaching it.
Leave the system in frost mode for 30 minutes. The drain should stay open the entire time, continuously removing moisture. If it opens and closes repeatedly, the sensor is cycling the mode on and off, which means the temperature reading is unstable. Recalibrate or reposition the sensor.
Verifying the Minimum Temperature Setpoint
Every frost protection system has a trigger temperature — the point at which it activates. You need to confirm that this setpoint matches the coldest temperature your installation will ever see.
Use a calibrated thermometer to slowly lower the temperature around the blower. Watch the control panel or indicator light. The moment the frost protection activates, note the temperature. Compare it against the specifications.
If the setpoint is too high — say it triggers at 50 degrees when your location regularly hits 20 — the blower will run frost protection constantly during mild cold snaps, wasting energy and wearing out the fan. If the setpoint is too low — say it waits until 25 degrees but your unheated space hits 30 — the system will freeze before it ever activates.
Adjust the setpoint using the control panel or jumper settings until it matches your actual needs. Most units let you shift the trigger point by 5 to 10 degrees in either direction.
Common Frost Protection Failures and What Causes Them
Sensor Wired to the Wrong Terminal
This is the most common installation mistake. The frost sensor has two wires, and they go to two specific terminals on the control board. Swap them, and the sensor reads inverted — it thinks the unit is frozen when it is warm and warm when it is frozen. The protection never activates when it should.
Double-check the wiring diagram before powering on. Label the wires during installation so you do not mix them up later. If you already powered on and something seems off, trace the wires back to the sensor and verify each connection against the diagram.
Control Board Not Programmed for Frost Mode
Some blowers ship with frost protection disabled by default. The installer has to enable it through the control panel or a Dip switch setting. If you skip this step, the unit has all the hardware for frost protection but none of the logic.
Check the installation manual for the enable procedure. It usually involves holding a button for 5 seconds or flipping a specific switch on the board. Do this before running any tests. A disabled frost mode will fail every test you throw at it, and you will waste time chasing a problem that is not really there.
Heat Exchanger Cracked From a Previous Freeze
If the blower was stored or operated in freezing conditions before installation, the heat exchanger may already have hairline cracks. These cracks let water seep into places it should not be, which confuses the frost sensor and reduces the effectiveness of the drain system.
Pressure test the heat exchanger before installation if you suspect prior freeze damage. Apply air pressure to the exchanger and submerge it in water. Look for bubbles. Any bubbling means a crack. Replace the exchanger before proceeding. A cracked unit will fail the frost test no matter how perfect the installation is.
Real-World Conditions That Break Frost Protection
Drafts and Uninsulated Walls
A blower mounted on an exterior wall in an unheated building faces conditions the factory never tested for. Wind chill drives the effective temperature far below what the thermostat reads. The sensor inside the blower may say 40 degrees while the heat exchanger is actually sitting at 25.
Insulate the wall around the blower. Add a wind break if possible. These steps do not change the blower — they change the environment so the blower can do its job.
Power Fluctuations During Cold Snaps
When everyone cranks up their heat during a cold wave, voltage drops. A blower running on low voltage may not have enough power to activate the frost protection heater or run the fan at the required speed. The protection exists but it cannot execute.
Test the blower at 10 percent below rated voltage. The frost protection should still activate. If it does not, the system needs a voltage regulator or an uninterruptible power supply. This is especially important for units in rural areas or old buildings with weak electrical service.
Condensation Buildup in Humid Cold Climates
In places where it is cold but also humid, condensation forms inside the blower even during normal operation. If the drain cannot keep up, water pools in the heat exchanger and freezes faster than the frost protection can respond.
Run the blower in heating mode for 2 hours in a humid environment. Then trigger frost mode and check the drain. If water is still pooling after 10 minutes, the drain capacity is too low for your conditions. Consider adding a secondary drain line or upgrading to a pump-assisted drain.
How Often to Retest Frost Protection
Do this test once after installation. Then do it again at the start of every cold season. Frost protection components degrade — sensors drift, drains clog, control boards glitch. A system that passed in October may fail in January.
Keep a log of every test. Date, ambient temperature, trigger temperature, drain performance, any failures or adjustments. This log becomes proof that you maintained the system properly. If a freeze event damages the blower later, this documentation shows you did everything right.
Test after any electrical work, any sensor replacement, or any change to the control settings. Frost protection is not set-and-forget. It is a living system that needs attention, especially when the temperature drops.