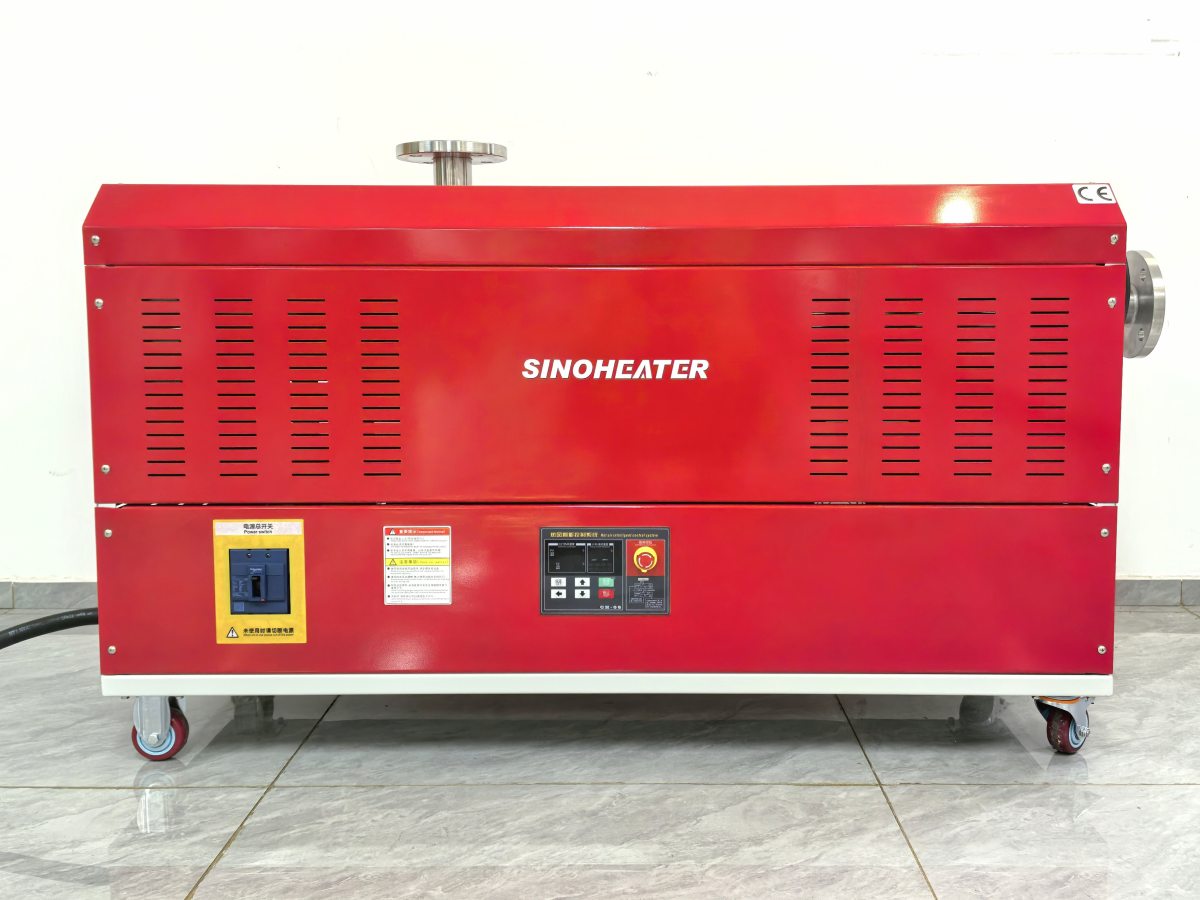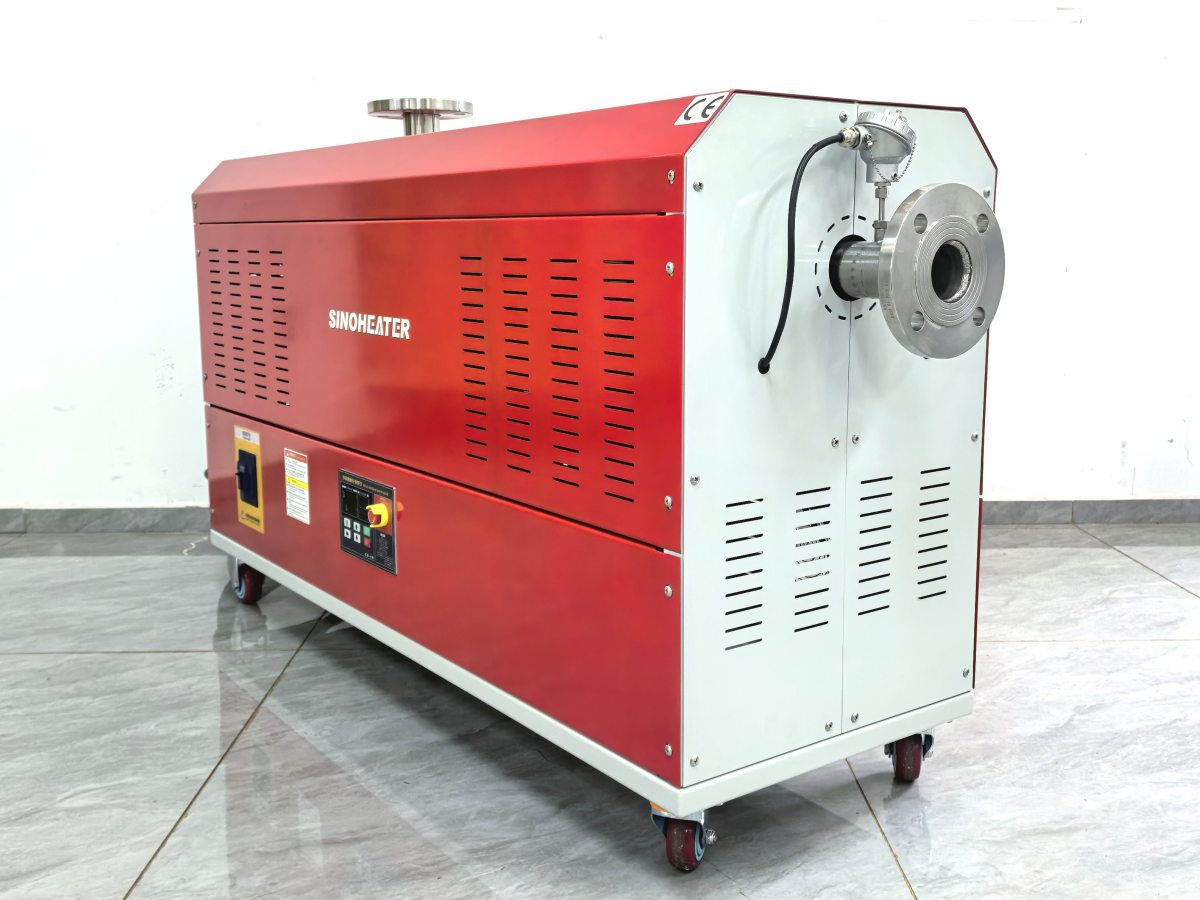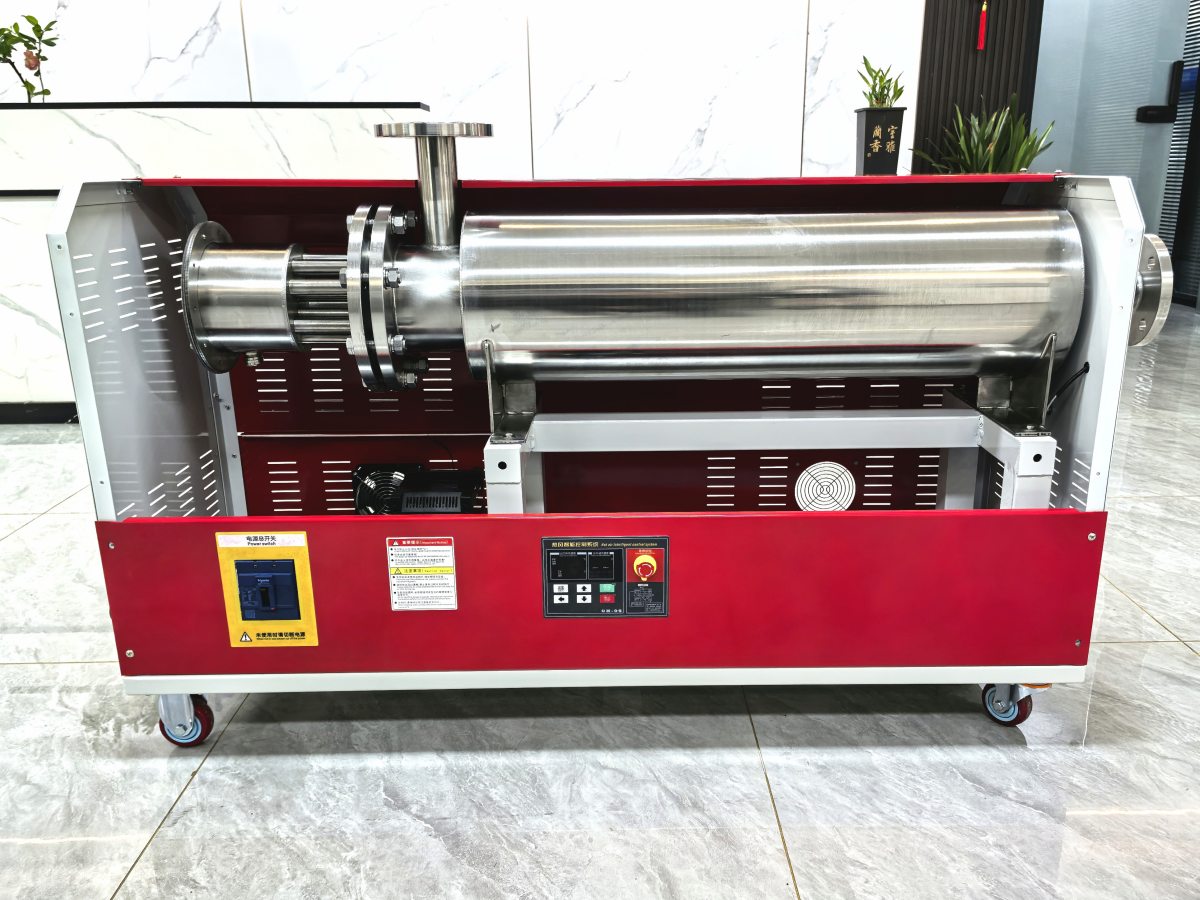
Window sealant curing is a process that is far more sensitive to ambient temperature and humidity conditions than most casual installers realize. When working in cool, damp weather, or in unheated indoor spaces during winter, the natural room temperature curing process for newly applied sealant can stretch out for many extra hours, or even days, before the material fully develops its final structural strength, water tightness, and air sealing properties. This extended open curing window leaves the fresh sealant vulnerable to dust, debris, accidental smudges, and moisture intrusion that can ruin the final seal quality before it ever sets properly. Using a hot air blower for targeted, controlled auxiliary heating speeds up this curing process dramatically, while also delivering a more consistent, uniform final seal that resists cracking and peeling far longer than sealant left to cure slowly at low room temperatures.
This auxiliary heating technique is not just about blasting hot air at the wet sealant to make it dry faster. It is a carefully calibrated process that balances temperature, air flow, and distance to accelerate the cross-linking reaction inside the sealant material, without creating bubbles, surface skinning, or internal weaknesses that would compromise the long term performance of the seal.
Pre-heating the joint before sealant application
One of the most overlooked steps for fast, high quality sealant curing is gently pre-heating the window joint substrate before you ever apply a single bead of sealant. In cold weather, the glass, metal frame, and masonry surfaces that make up the window joint can hold very low residual temperatures that stay far below comfortable room temperature for hours, even if the surrounding air feels warm. If you apply sealant directly onto these cold surfaces, the material will cool down immediately after application, slowing the chemical curing reaction down to a near halt at the exact moment it needs to bond to the substrate surface.
Run the hot air blower slowly back and forth across the entire joint area, holding it at a consistent distance to raise the temperature of both sides of the joint evenly to a mild, comfortable level. This gentle pre-heat step drives off all hidden trapped moisture that has condensed on the cold joint surfaces, eliminating the risk of trapped water creating bubbles or weak points in the bond line. It also brings the substrate temperature up to the ideal range where the sealant’s curing reaction can proceed at full speed the moment it makes contact with the surface.
For narrow, deep window joints that are hard to access, move the hot air blower along the full length of the joint for an extra 30 to 60 seconds to make sure the very bottom of the joint is fully warmed and completely dry. Many installers only heat the visible surface of the joint, and leave the deep hidden base of the joint cold and damp, which creates a hidden weak bond that will start to peel away from the substrate after just a few months of seasonal temperature cycling. Taking the extra time to fully pre-heat the entire joint eliminates this hidden failure point completely.
Controlled post-application heating for uniform full-depth curing
After you have finished applying and tooling the sealant bead to its final smooth shape, you can begin the auxiliary heating phase to accelerate the full curing process. The most important rule here is to never point the hot air blower directly at the wet sealant surface from close range. A concentrated, narrow jet of hot air hitting the soft wet sealant will rapidly cure only the very top surface layer, creating a thin hardened skin that traps all the uncured wet sealant underneath. This trapped uncured material will never fully cure properly, and will create a soft, weak core inside the bead that can shrink, crack, or lose adhesion over time.
Instead, hold the hot air blower at a consistent, steady distance, and move it in slow, wide sweeping motions across the full length of the sealant bead. This spreads the warm air evenly across the entire surface of the bead, and lets the gentle heat penetrate slowly and uniformly down through every layer of the sealant. This ensures the curing reaction proceeds at the same consistent rate from the top surface all the way down to the base of the joint, so the entire bead cures into a single solid, uniform mass with no soft uncured pockets hidden deep inside.
Keep the air flow moving constantly along the bead, and never leave the blower stationary pointed at one single spot for more than a couple of seconds. This prevents any localized hot spots that could cause the sealant to bubble, discolor, or pull away from the edges of the joint while it is still in its soft uncured state. Working in slow, overlapping passes along the full length of the window seal ensures every section of the bead receives exactly the same amount of heat, so the entire seal cures at the exact same rate with no uneven soft spots.
Adjusting technique for different window materials and sealant types
Different window frame materials and sealant formulations respond very differently to auxiliary hot air heating, and adjusting your technique to match the specific material you are working with will prevent accidental damage and deliver the best possible final results. For delicate vinyl window frames that can warp or discolor under excessive heat, keep the hot air blower at a slightly greater distance, and use a slower sweeping motion to spread the heat out across a wider area. This keeps the frame temperature well below the point where it could deform, while still delivering enough gentle warmth to speed up the sealant curing process.
For large, wide sealant beads used to seal gaps between window frames and exterior masonry, you can make multiple slow, overlapping heating passes to ensure heat penetrates all the way through the full thickness of the bead. These thick beads take far longer to cure all the way through naturally, and gentle auxiliary heating eliminates the long wait time that would otherwise be required before the window can be exposed to rain, wind, or other site activities. This is especially valuable on active construction sites where tight project schedules leave very little downtime for sealant to cure naturally at cold ambient temperatures.
For fast-curing sealant formulations that are designed to cross-link very quickly when exposed to heat, reduce the total heating time per section slightly to avoid over-accelerating the reaction to the point where bubbles form inside the bead. For slower curing sealant types formulated for extreme long term outdoor weather resistance, you can extend the gentle heating time to make sure the full depth of the bead reaches the temperature threshold where the full cross-linking reaction can proceed at a steady, even pace.
When you finish the full heating process, leave the newly heated sealant undisturbed for a short rest period to let it cool down gradually to ambient temperature. Avoid any sudden cold drafts or temperature drops that could cause thermal stress in the partially cured material. This final rest step ensures the sealant sets into a fully uniform, flexible, durable final structure that will maintain a perfect air and water tight seal for many years of seasonal temperature cycling.
Common mistakes to avoid during auxiliary heating
Many first time users make the mistake of turning the hot air blower to its highest possible temperature setting to try to speed up the process as much as possible. Excessively high heat does not make the curing process faster, it only creates surface skinning, bubbles, and internal stress that weakens the final seal. The ideal temperature range is mild enough that you can hold your hand in the warm air flow for several seconds without discomfort, while still being warm enough to significantly accelerate the chemical curing reaction.
Never use this hot air heating technique on sealant that has already started to skin over or partially cure on its own. Applying concentrated heat at this mid-point in the curing cycle will trap uncured material under the hardened surface layer, creating a permanently weak seal that will fail prematurely. The auxiliary heating process works best when you apply it continuously from the moment right after you finish tooling the fresh sealant bead, all the way through to the point where the material has reached its firm, tack-free state.
Also make sure there is no loose, flammable debris or solvent soaked rags anywhere near your work area while you are using the hot air blower. The warm exhaust air can easily ignite light flammable materials that are left too close to the work zone, creating an unnecessary safety hazard while you work. Taking these small, simple precautions will make the entire process fast, safe, and reliable, delivering perfectly cured window seals in a fraction of the time required for natural ambient curing.
This targeted, controlled hot air auxiliary heating workflow eliminates almost all the common frustrations of window sealant work in cool or damp conditions, delivering consistent, long lasting seals that cure fully and evenly without hidden defects or weak points. Even experienced professional installers find this technique cuts their total project turnaround time dramatically, while also improving the overall long term quality of every seal they install.