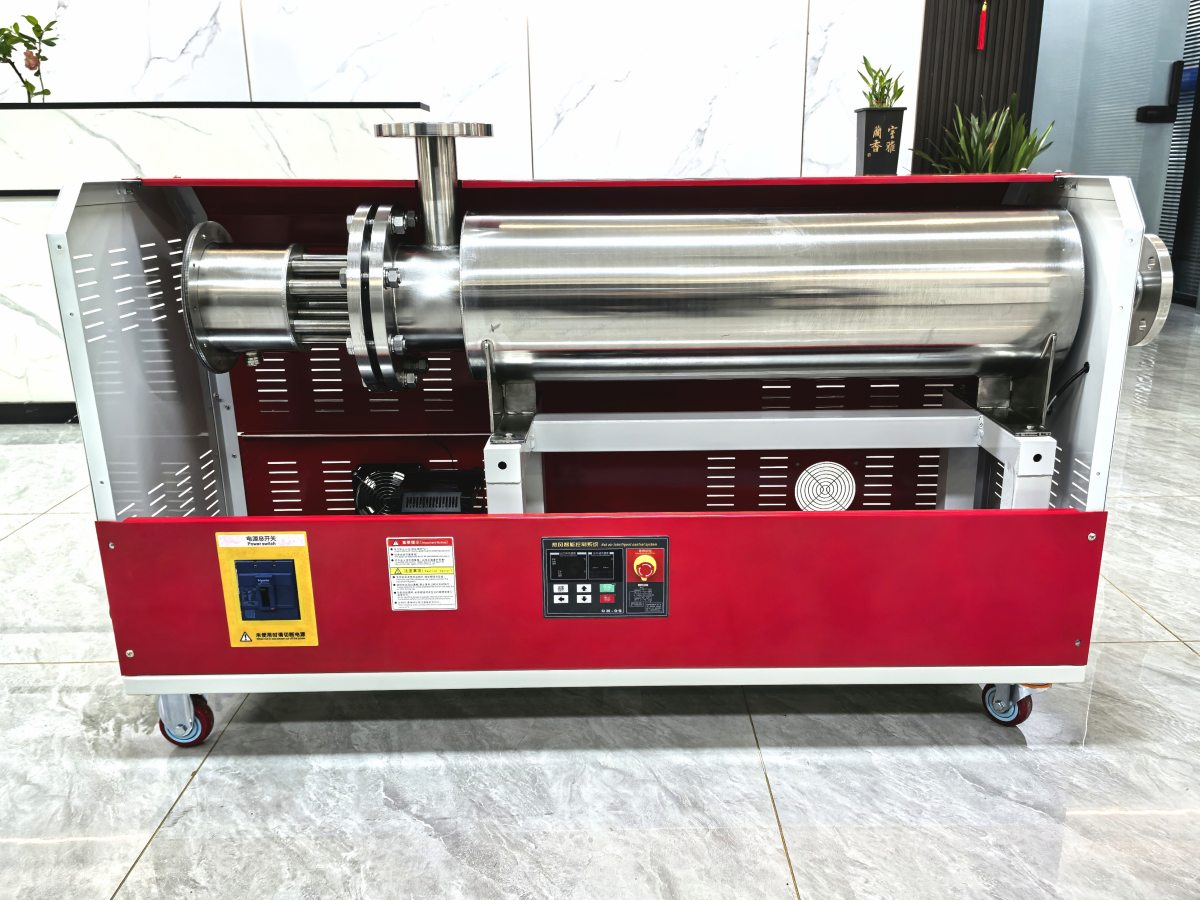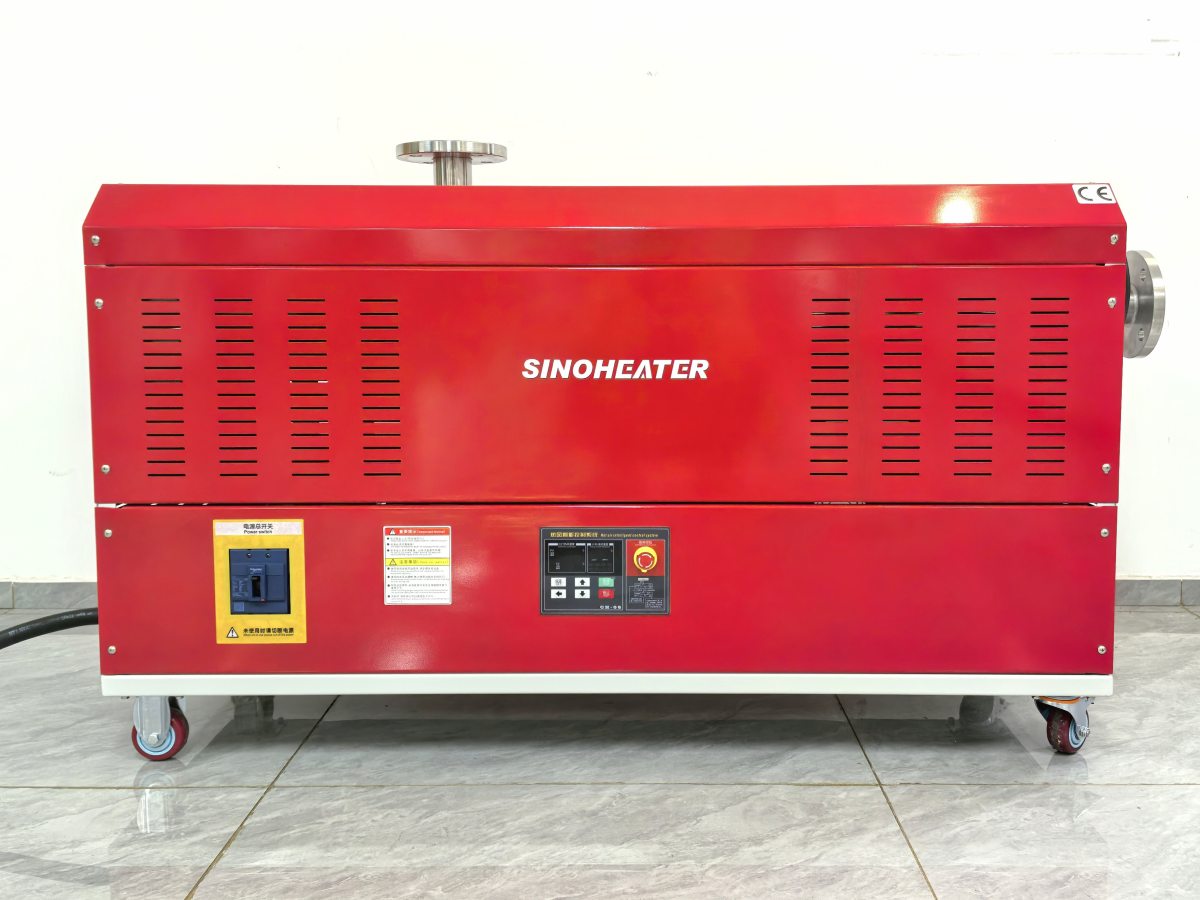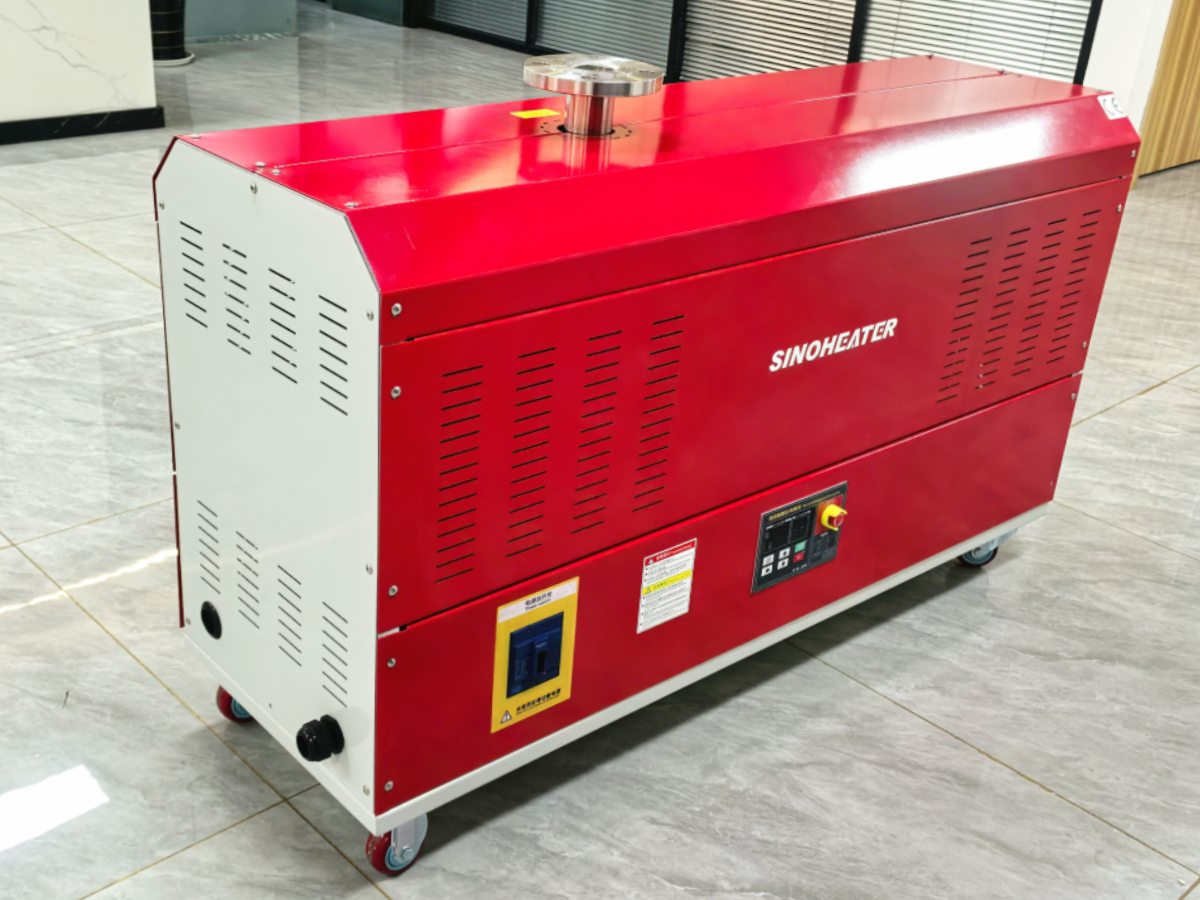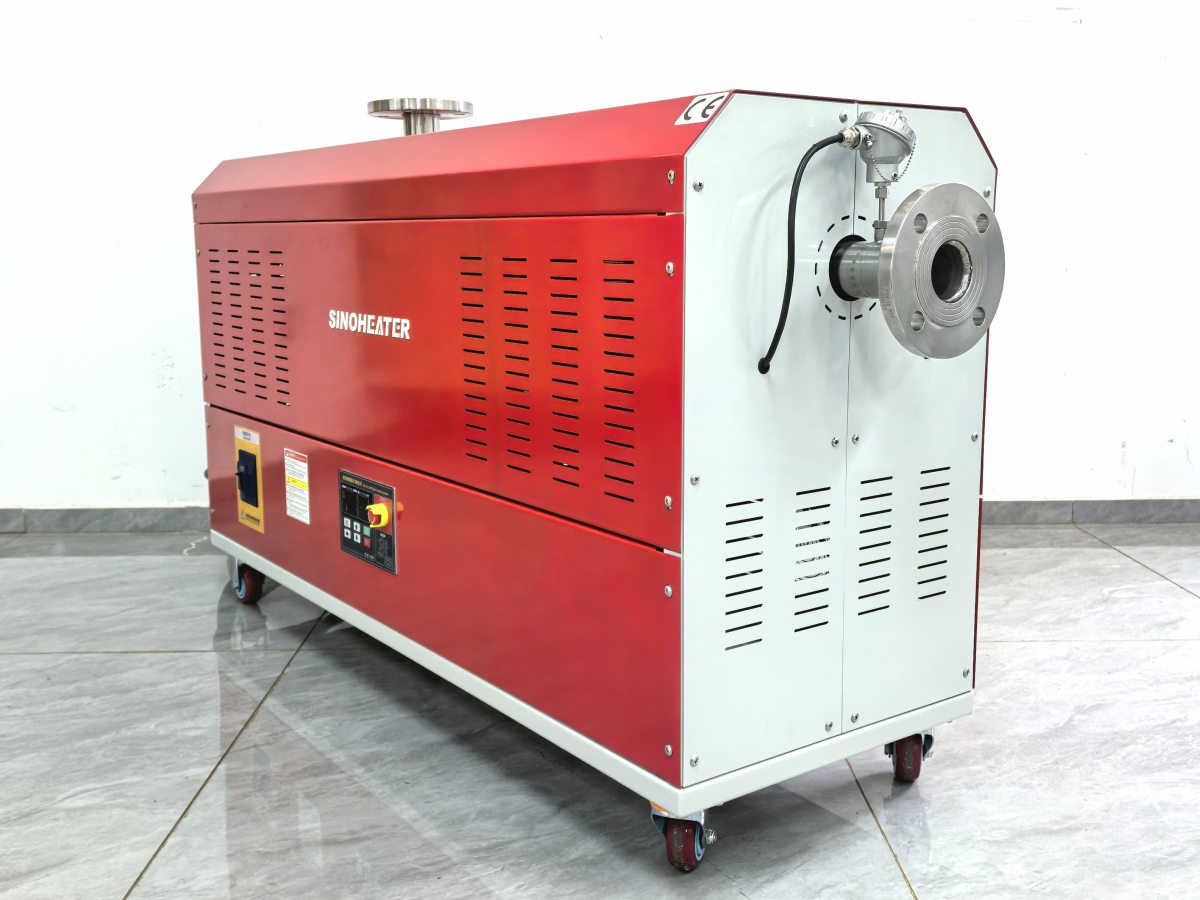
Fast drying of printing ink on substrates is a critical step that directly impacts final print quality, production consistency and downstream processing efficiency. A hot air blower configured for this task delivers uniform, controlled convective heat across the full printed surface, accelerating solvent evaporation without causing the common defects that come with uncontrolled rapid drying. When set up and operated correctly, this system eliminates smudging, blocking and uneven color development, while cutting total drying time significantly compared to passive ambient air curing methods.
Pre-operation substrate and ink condition assessment
Before initiating any hot air drying process, perform a full check of the printed material to confirm ink coverage, substrate properties and initial surface state. Different ink formulations carry different solvent evaporation characteristics, and each substrate type has unique heat tolerance limits that must be respected to avoid warping, shrinking or surface deformation. Document the total ink laydown thickness across different sections of the print, as areas with heavier ink coverage will require more carefully controlled heating time to dry completely from the bottom up.
Check that the printed surface is free of any loose dust, airborne fibers or unexpected contamination before hot air exposure. Any foreign particles that land on the wet ink surface before or during drying will become permanently trapped in the cured ink film, creating visible defects that cannot be corrected later. This pre-operation assessment ensures all subsequent hot air parameters are matched perfectly to the specific job at hand.
Gradual temperature ramp-up for surface skin formation control
The most common mistake in fast ink drying is applying excessively high heat immediately after printing, which causes the top layer of ink to dry and form a sealed skin before all solvent trapped under the surface can escape. This trapped solvent creates blistering, pinholes and uneven gloss on the final print surface, and can even lead to incomplete internal drying that causes smudging hours after the job leaves the production line. The hot air blower system starts at a moderate initial temperature that gently encourages surface solvent to evaporate slowly, without sealing the top ink layer prematurely.
As the surface loses its initial wet gloss and transitions to a semi-dry state, the system can gradually raise hot air temperature in small, controlled increments. This staged ramp-up allows solvent deep inside the ink film to escape steadily through the partially dried upper layer, without building up internal pressure that damages the ink surface. This approach ensures the entire ink film cures uniformly from bottom to top, instead of only drying on the outermost surface.
Uniform airflow distribution across full print width
Uneven hot air distribution is one of the leading causes of inconsistent drying quality across the width of large format printed materials. If airflow is stronger in the center of the print and weaker along the edges, the middle section will dry far faster than the sides, creating visible color variation, differential shrinkage and register misalignment in multi-color print jobs. The hot air blower must distribute a consistent volume of heated air evenly across every centimeter of the full print width, so every section of the wet ink surface receives exactly the same level of convective heat transfer.
Adjust the angle of the hot air flow so it travels parallel across the printed surface, instead of blowing directly perpendicular down onto the wet ink. This parallel sweeping motion carries evaporated solvent vapor away from the ink surface continuously, without creating enough force to displace wet ink droplets, distort fine print details or create unwanted ripples on the liquid ink layer. This careful airflow orientation preserves the sharpness and accuracy of every printed detail while accelerating evaporation.
Line speed synchronization and dwell time optimization
For inline continuous printing operations, the travel speed of the substrate must be perfectly synchronized with the hot air blower output performance. If line speed runs too fast, the printed material will exit the drying section before the ink film has cured completely, leading to smudging when printed layers come into contact with rollers or stacked sheets. If line speed runs unnecessarily slow, the material will be exposed to far more heat than required, wasting energy and creating unnecessary risk of substrate heat damage.
Test different dwell time values with sample prints at the start of each new job, to identify the minimum total hot air exposure time that achieves full, thorough drying across all areas of the print. Mark this optimal speed setting clearly for the production line, so all operators working on the same job maintain consistent drying parameters from the first sheet to the last. This synchronization eliminates batch-to-batch drying quality variation that often appears across long production runs.
Post-drying cooling down and residual solvent elimination
After the printed material exits the main hot air drying zone, it should pass through a controlled ambient cool down section before being stacked, rolled or subjected to any downstream processing. Sudden contact between still-warm printed surfaces can cause blocking, where ink layers stick to each other and peel apart when separated later. A gentle stream of clean, room temperature airflow brings the substrate temperature back down to ambient level gradually, without creating thermal shock that could cause uneven substrate shrinkage.
Even after the ink feels completely dry to the touch, a small amount of residual solvent can still remain trapped deep inside the ink film. For applications that require extremely low residual solvent levels, extend the low temperature warm air drying phase for an additional short period, to encourage these last trace amounts of solvent to escape slowly without damaging the finished print surface. This final step ensures the final cured ink film is fully stable, and will not release trapped solvent or develop unexpected defects after the job is completed.
Common defect troubleshooting during hot air drying
When faint, wavy drying bands appear across the print surface, the issue almost always traces back to uneven airflow distribution from the hot air blower. Check for blocked air outlet slots, misaligned airflow baffles or accumulated dust buildup inside the blower unit that is disrupting even air delivery. Restoring uniform airflow across the full print width will eliminate these banding defects quickly.
If small blisters or bubbles appear on the ink surface, this is a clear sign that initial hot air temperature was set too high, creating a sealed surface skin before internal solvent could escape. Lower the starting temperature, extend the gradual temperature ramp-up period and reduce initial airflow intensity, to allow solvent to escape more slowly and evenly before the top ink layer dries fully. These targeted adjustments resolve most common fast drying quality issues without slowing down overall production throughput significantly.