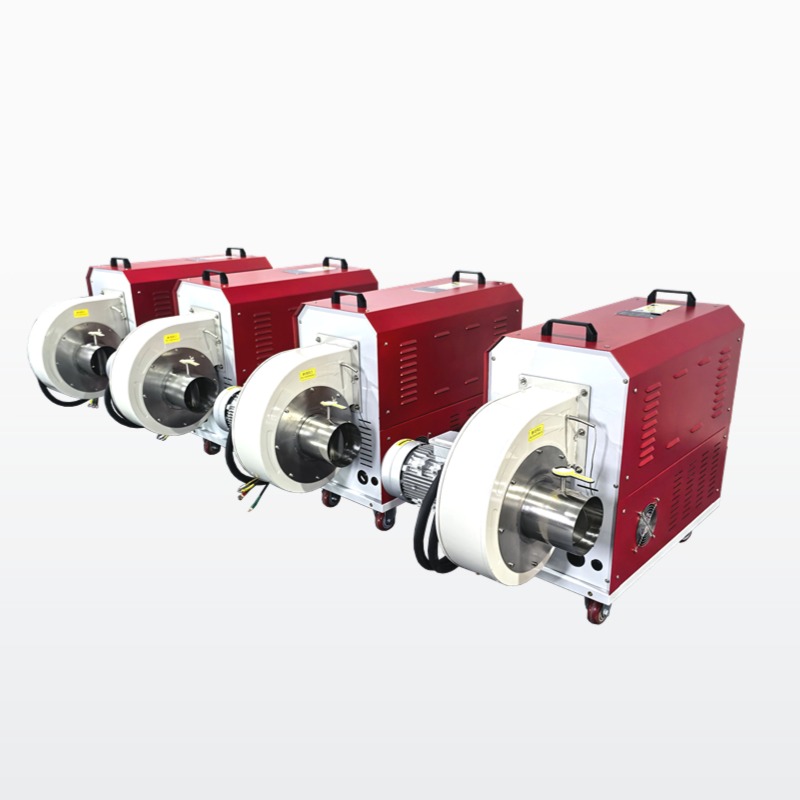
Hot Air Blower Remote Control Test After Installation: Making Sure Every Button Works From Across the Room
You mount the blower, wire it up, pass the load test, and finally breathe a sigh of relief. Then someone hands you the remote control and says, “Try turning it on from the other side of the building.” You press a button and nothing happens. Or worse, it turns on but will not turn off. Remote control testing is the step that gets skipped more than almost any other part of commissioning, and it is the step that causes the most frustration once the system is live.
A remote that does not work properly turns a smart installation into a dumb one. Testing it after installation catches wiring mistakes, signal interference, and configuration errors before they become daily headaches.
Why Remote Control Testing Is Not Just Pressing a Button
People assume that if the blower responds to the remote at all, everything is fine. That assumption is wrong. A remote can turn the unit on but fail to adjust the speed. It can change the temperature but ignore the timer. It can work perfectly in the same room but drop the signal the moment you walk behind a concrete wall.
Remote control systems involve several layers — the transmitter, the receiver, the control board, the wiring between them, and the software logic that interprets the signals. Any one of these layers can fail independently. Testing only the most obvious function gives you a false sense of security.
You also need to test the remote under real-world conditions, not just standing right next to the blower. Signal strength, interference from other devices, and line-of-sight issues all show up only when you actually use the remote the way you will use it every day.
Setting Up the Test Environment
Position the Remote at Various Distances
Start by standing right next to the blower — about 3 feet away. Press every button on the remote. The unit should respond to each command within 1 to 2 seconds. No lag, no missed signals, no partial responses. If a button does nothing, check the battery first, then check the pairing.
Next, walk to the farthest point where you would normally operate the remote. This could be across a room, down a hallway, or even in an adjacent room. Press the same buttons again. The response time may increase slightly — up to 3 seconds is still acceptable. Anything beyond 5 seconds means the signal is weak or there is interference.
Test from behind common obstacles — a door, a wall, a piece of furniture. Remote signals do not pass through metal or thick concrete well. If the blower loses the signal every time you stand behind a certain wall, you need a signal repeater or a different mounting location for the receiver.
Test in the Presence of Other Wireless Devices
Most blowers use radio frequency or infrared signals for remote control. Both of these can be disrupted by other devices in the area. Wi-Fi routers, Bluetooth speakers, baby monitors, and even microwave ovens can create interference.
Turn on every wireless device in the vicinity and test the remote again. If the blower starts missing commands or responding to the wrong button, you have an interference problem. Try changing the remote channel or switching from infrared to radio frequency if the unit supports both.
Infrared remotes require a direct line of sight. If anything blocks the path between the remote and the receiver — even a person walking by — the signal drops. Radio frequency remotes do not have this limitation, but they are more susceptible to electromagnetic interference. Know which type you have and test accordingly.
Testing Every Function the Remote Controls
On, Off, and Emergency Stop
These are the basics, but they deserve their own test. Press the on button. The blower should start within 2 seconds. Press the off button. It should shut down completely — not just go to standby, not just reduce fan speed, but fully stop.
Test the emergency stop button if your remote has one. This should override everything else and cut power to the heating element immediately. The fan may continue running for a few seconds to cool the element, but the heat must stop right away. If the emergency stop does not kill the heat, it is not wired correctly. Fix it before anyone depends on it.
Speed and Temperature Adjustments
Cycle through every fan speed setting using the remote. The blower should change speed smoothly without jerking or stalling. If it jumps from low to high without hitting the middle setting, the control board is not reading the signal correctly.
Do the same with temperature adjustments. If the remote lets you set a target temperature, change it by 5 degrees up and down. The blower should respond to each change. If the temperature only moves in one direction or skips values, the remote and the control board are not communicating properly.
Test the timer function as well. Set a 1-hour timer, then a 4-hour timer, then cancel it. The blower should start and stop exactly when the timer says it will. A timer that drifts by even 10 minutes is useless for anyone who relies on scheduled heating.
Mode Switching and Scheduling
If the remote controls different operating modes — heating only, fan only, defrost, eco mode — switch between each one. The blower should transition cleanly without error codes or unexpected shutdowns.
For units with scheduling capabilities, program a simple on-off schedule using the remote. Let it run for a full cycle. Did it turn on at the right time? Did it turn off at the right time? Did it switch to the correct mode? Schedule errors are easy to miss during a quick test but they show up fast during real use.
Troubleshooting Common Remote Control Failures
The Remote Works but the Range Is Terrible
This almost always points to one of three things. First, the batteries are weak. Even a battery that tests fine in a multimeter can sag under the load of transmitting a signal. Swap in fresh batteries and retest.
Second, the receiver antenna is not positioned correctly. Some receivers have an external antenna that needs to point toward the general area where the remote will be used. If it is pointing the wrong way, the effective range drops dramatically.
Third, there is a physical obstruction between the remote and the receiver that you did not notice during installation. A new piece of equipment, a renovated wall, or even a stack of metal shelving can block the signal. Move the receiver or add a repeater to bridge the gap.
The Remote Sends Commands but the Blower Ignores Them
This is a pairing issue. The remote and the receiver are talking, but they are not understanding each other. Reset the pairing by following the manufacturer’s procedure — usually it involves holding two buttons simultaneously for 5 to 10 seconds until the receiver LED flashes.
After resetting, re-pair the remote. Test every function again. If it still ignores commands, the receiver module may be defective. Swap it out and retest.
Multiple Remotes Cause Conflicts
If more than one remote is paired to the same blower, they can step on each other. One remote turns the unit on while the other tries to change the temperature. The result is erratic behavior that looks like a system malfunction.
Test each remote individually first. Confirm that each one works perfectly on its own. Then pair both and test them together. If conflicts appear, assign each remote to a different channel or zone if the system supports it. Otherwise, limit operation to one remote at a time.
Verifying the Remote Control Wiring
Check the Receiver Wiring at the Control Board
The receiver connects to the control board through a set of wires. If any of these wires are loose, crossed, or connected to the wrong terminals, the remote commands will not execute correctly.
Open the control board cover and trace each wire from the receiver to its terminal. Make sure the colors match the wiring diagram. Tighten any loose connections. A wire that is touching the wrong terminal can cause the blower to behave unpredictably — turning on when it should stay off, or ignoring speed commands entirely.
Test the Wired Remote If Your System Has One
Some installations use a hardwired remote panel instead of a handheld unit. These panels mount on the wall and connect to the control board through a cable. Test every button on the panel the same way you tested the handheld remote.
Pay special attention to the lockout function. Many wired panels have a child lock or a maintenance lock that disables all remote functions. Make sure this feature works — lock it, try to operate the blower from the panel, and confirm that nothing happens. Then unlock it and confirm normal operation resumes.
Documenting Your Remote Control Test Results
Write down which buttons you tested, the response time at each distance, any failures you found, and how you fixed them. Note the battery type and the date you installed them. Note the receiver channel and antenna position.
Take a photo of the remote paired with the blower. Store this in your commissioning folder. When the remote stops working six months from now, you can compare current behavior against your original test data and spot the problem fast.
Test the remote again after any firmware update, any control board replacement, or any change to the wiring. Remote control systems are not static — they drift, they lose pairing, they pick up interference. A test done once at installation is not enough. Make it part of your regular maintenance routine.