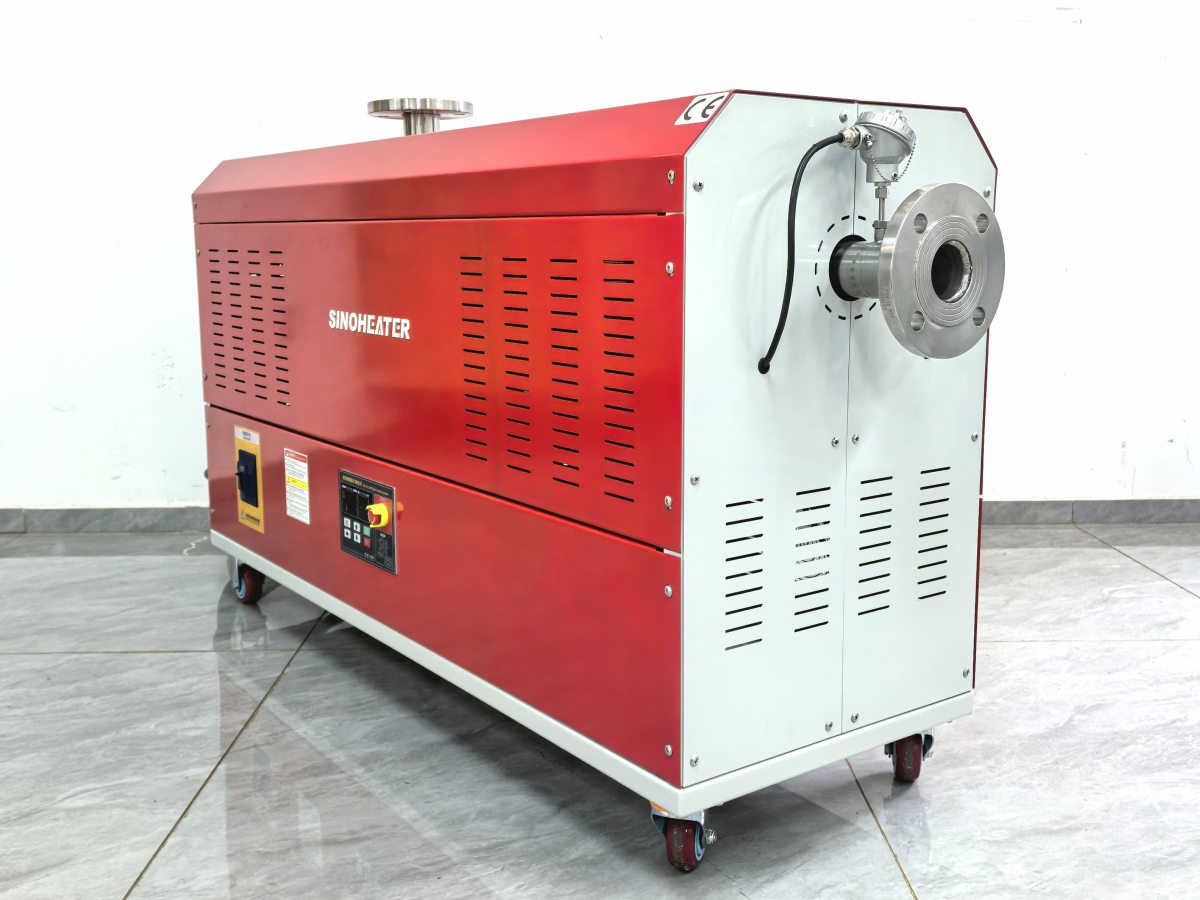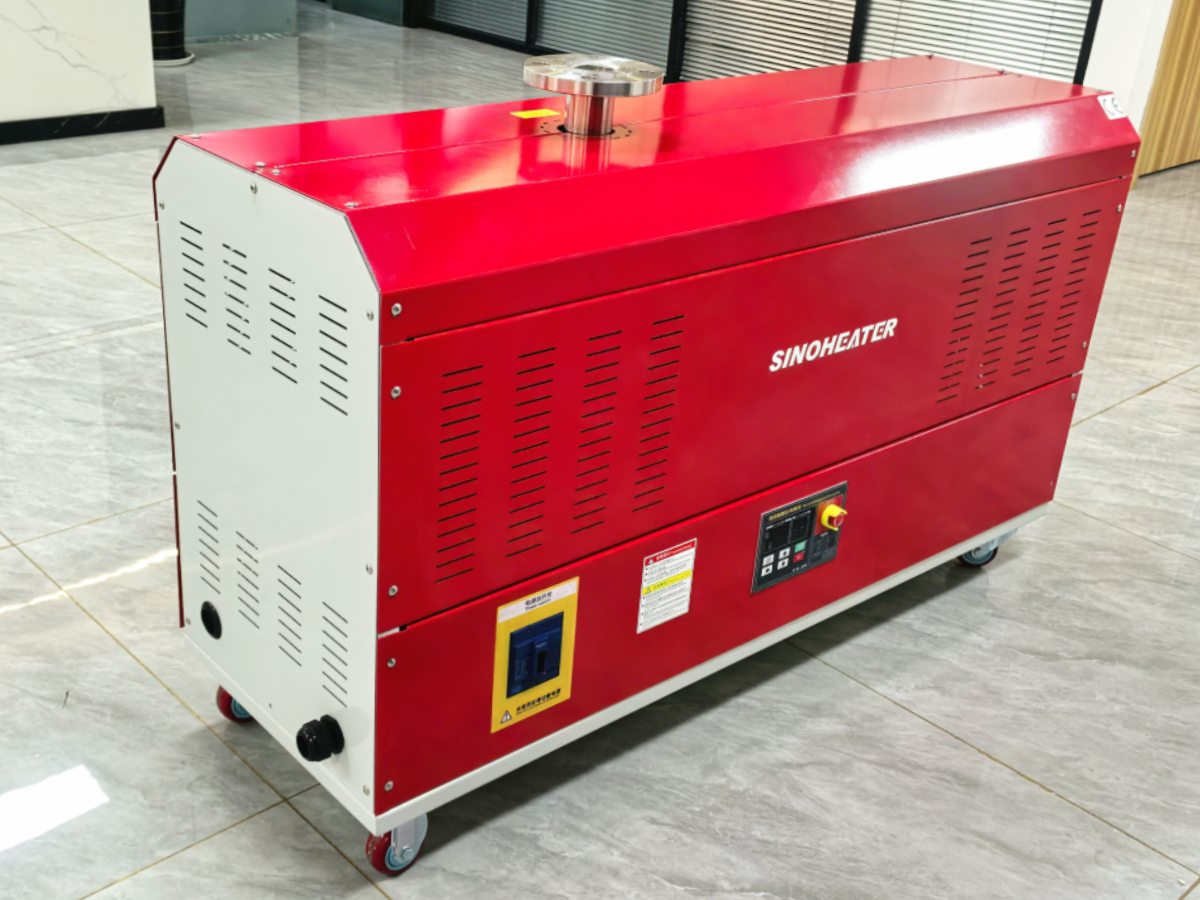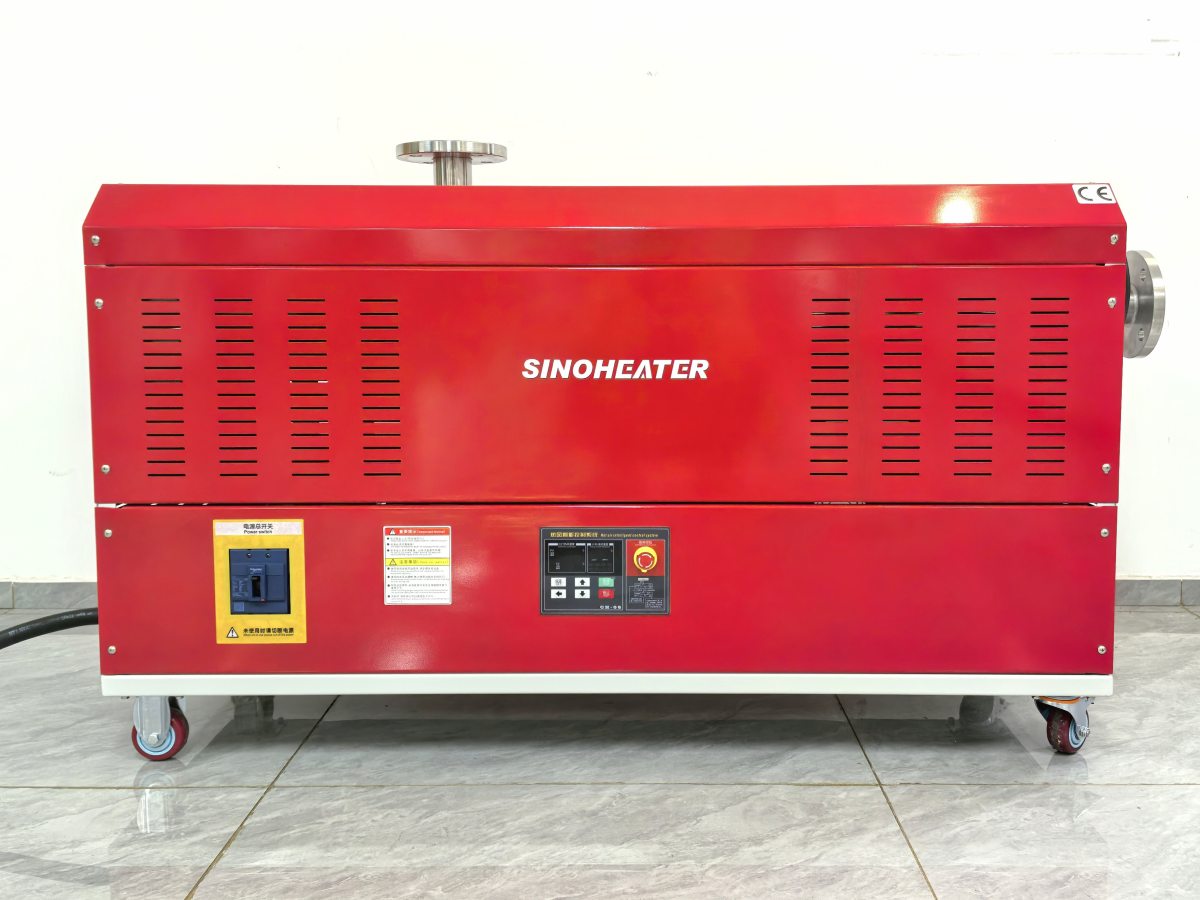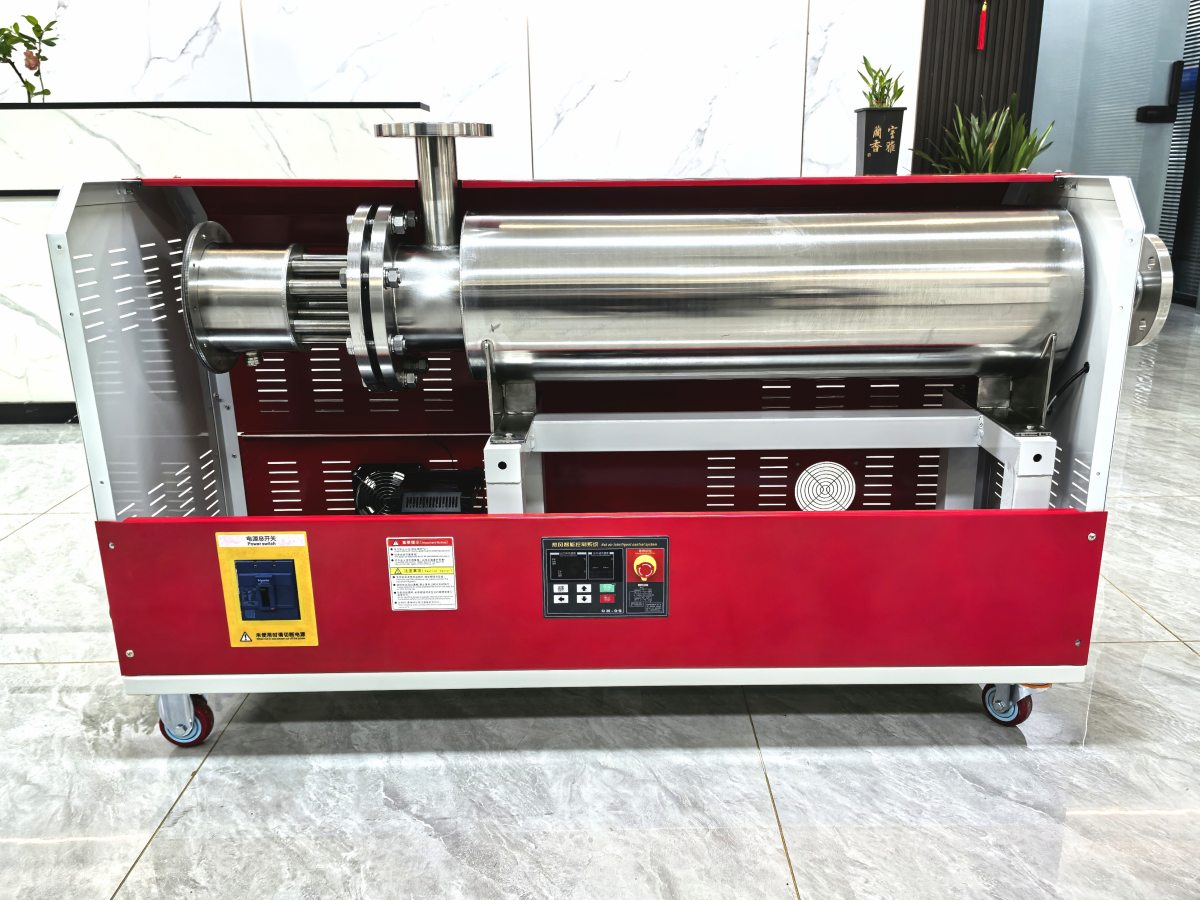
Drying ceramic embryo surface moisture with a hot air blower requires careful control of airflow, temperature, and exposure sequence to avoid the most common defects that appear during post-processing firing. Green ceramic bodies are extremely sensitive to uneven moisture loss, and improper drying can introduce hidden micro-cracks, surface warping, and structural weaknesses that only become visible long after the process is complete. When applied correctly, targeted hot air treatment creates a stable, even drying environment that preserves the delicate shape and material integrity of the embryo.
Pre-drying condition assessment and parameter setup
Before introducing any heated airflow, measure the initial moisture content of the ceramic embryo and document the ambient humidity and temperature of the surrounding workspace. Embryos formed through plastic pressing, slip casting, or hand shaping each hold moisture in different internal distributions, so the initial airflow intensity and temperature must be adjusted to match the specific forming method. If the starting moisture level is too high, applying strong hot air directly will lock excess water inside the core while the outer skin dries too quickly, creating dangerous internal stress that leads to cracking.
Position the hot air blower outlet at a consistent, safe distance from the embryo surface to avoid concentrated hot spots that can scorch fine clay particles or cause localized rapid shrinkage. Set the initial temperature low enough that the air feels warm to the touch but does not cause immediate visible evaporation when directed at a small test area of the clay surface. This gentle starting phase lets surface moisture begin migrating outward slowly, rather than boiling off abruptly and leaving tiny, uneven indentations across the fine detail of the embryo.
Airflow distribution and multi-stage drying progression
Direct the hot air to circulate evenly around the entire embryo rather than blowing continuously on a single face, as unidirectional airflow will create a steep moisture gradient between the windward and leeward sides. Rotate the embryo at regular, slow intervals during the early drying stage, or adjust the blower’s angle periodically to ensure every exposed surface receives the same volume of heated air over time. This balanced exposure keeps shrinkage rates consistent across every part of the form, eliminating the uneven tension that causes thin edges or protruding handles to warp or pull away from the main body.
Gradually raise the air temperature and adjust airflow volume in small, incremental steps as surface moisture reduces, rather than jumping to maximum output halfway through the process. The first stage prioritizes slow, uniform surface dehydration to form a thin, stable outer layer that prevents rapid, uncontrolled water loss from deeper inside the clay. The middle stage accelerates gentle moisture migration from the embryo’s core toward the surface, and the final low-airflow stage locks in consistent residual moisture across the entire body to prepare it for the next handling or bisque firing step.
Post-drying inspection and defect prevention validation
Once the full drying cycle completes, set the embryo aside in a stable ambient environment for several hours before moving or handling it further, to let any minor residual stress from heating dissipate naturally. Inspect every surface closely under even, diffused lighting to spot faint hairline cracks, uneven discoloration, or slight warping that indicates the drying sequence was too aggressive or uneven. Run a simple weight check to confirm moisture levels have stabilized, with no unexpected drops that would signal over-drying or uneven water removal across different parts of the body.
Keep detailed records of the temperature, airflow, and cycle duration used for each specific type of ceramic embryo, so you can refine the process for different clay compositions, wall thicknesses, and complex shapes over repeated production runs. Even small adjustments to the timing of each drying stage can reduce scrap rates dramatically, especially for intricate, thin-walled forms that are far more vulnerable to stress damage during moisture removal. This consistent, documented approach turns a sensitive, error-prone step into a repeatable, reliable part of the full ceramic production workflow.