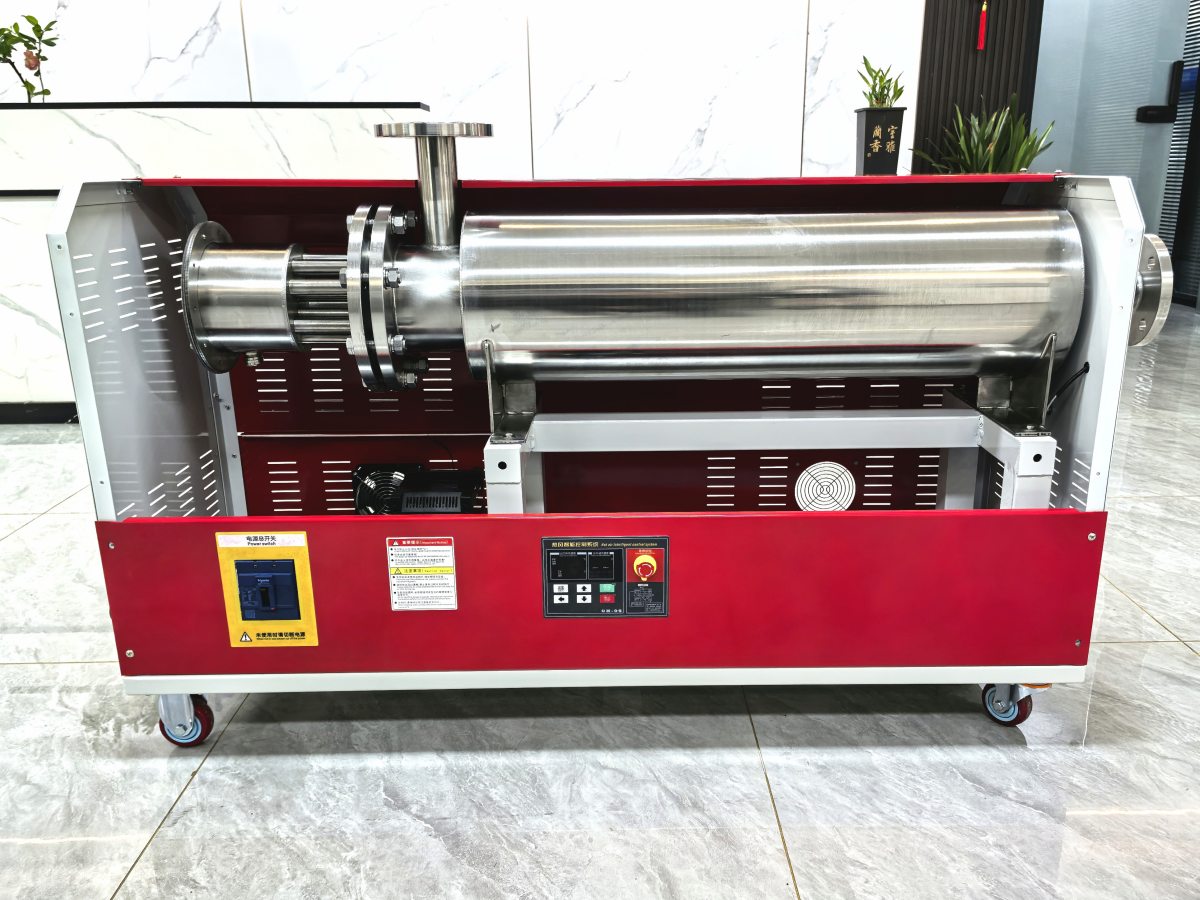
hot air blower for seasonal clothing dehumidification drying
During humid seasons or extended periods of damp weather, stored seasonal clothing and recently laundered garments can stay damp for far longer than expected, creating conditions that encourage musty odors, mildew growth, and subtle fabric fiber damage that shortens the usable life of favorite pieces. Using a hot air blower for targeted dehumidification and drying lets you move controlled warm airflow directly into pockets, layered seams, thick fabric folds, and enclosed storage spaces that stagnant room air can never reach. This approach removes trapped moisture quickly without the over-drying, fabric shrinking, or fiber brittleness that often comes with high-temperature tumble drying in a conventional machine.
Core Airflow and Temperature Control Principles
The most effective drying results come from balancing air temperature, flow speed, and distance from the fabric surface to lift moisture away efficiently without causing unintended harm to delicate materials. Unlike a closed mechanical dryer that traps recirculating hot air inside a rotating drum, a hot air blower delivers fresh moving air directly to the damp spot, carrying evaporated moisture away immediately instead of letting it circulate back onto the garment. This stops humid air from pooling around damp fabric fibers, which is the main reason many clothes stay slightly damp and develop stale odors even after hanging for days in a poorly ventilated room.
Temperature Matching to Different Fabric Types
Every fabric has a maximum safe temperature threshold that prevents heat-related damage, and adjusting output accordingly eliminates the most common drying mistakes. Thick, durable cotton and linen items can safely tolerate warmer air that pulls moisture out quickly, while delicate silk, wool, and synthetic performance fabrics require much lower, gentler heat to avoid fiber shrinkage, surface pilling, or permanent texture distortion. Always test the airflow on a tiny, hidden inner seam of the garment first, holding your hand between the blower and fabric to confirm the air feels comfortably warm rather than hot enough to cause immediate discomfort.
Airflow Angle and Distance Optimization
Holding the blower at a 45-degree angle relative to the fabric surface, rather than pointing it straight directly into the material, creates a wide, sweeping airflow that lifts moisture away without forcing hot air deep into the inner fiber structure too aggressively. Maintaining a consistent safe distance between the nozzle and clothing prevents concentrated heat from building up on a single small spot, which is the main cause of accidental fabric scorching or melting that ruins otherwise salvageable garments. The sweeping side-angle motion also helps separate individual fabric fibers slightly, creating tiny air gaps that let trapped internal moisture escape much faster than if you blow straight down onto a compressed, flat fabric surface.
Moisture Evacuation Path Setup
Positioning the garment so air can pass completely through it, rather than only blowing against one side, drastically cuts total drying time. Hang the item on a wide-shouldered hanger that keeps the front and back fabric layers separated, so moving air can flow around every side, through sleeve openings, and inside pant legs without getting trapped between overlapping fabric. If you are drying a stack of folded seasonal clothing that has become damp in storage, prop each piece slightly apart with small spacers to create narrow air channels between layers, so airflow can reach every inner surface that would otherwise stay hidden and damp.
Targeted Drying Techniques for Hard-to-Reach Areas
Many of the most persistent damp spots on clothing are not on the main flat fabric surfaces, but in the tight layered seams, enclosed pockets, thick collar lining, and multi-layered interlinings that are almost impossible to dry completely with normal hanging air circulation. These hidden trapped pockets of moisture are exactly where mildew spores first start to grow, creating that hard-to-remove musty smell that lingers even after surface drying appears complete.
Inner Pocket and Seam Cavity Drying
Turn pockets partially inside out or open them fully to expose the inner lining surface, then direct low-speed warm airflow deep into the enclosed space. Many people make the mistake of only drying the outer face of a pocket, leaving the inner lining damp for days after the rest of the garment feels dry to the touch. Slowly moving the airflow tip around the full inner perimeter of the pocket, holding it in place for a few seconds at a time, ensures every last trace of trapped moisture gets lifted away before you fold the item back up for storage.
Thick Multi-Layer Fabric Section Processing
Down-filled jackets, padded winter coats, thick wool sweaters, and items with fused interlining often hold moisture deep inside their layered structure long after the outer fabric feels completely dry. Hold the garment gently in one hand and blow warm airflow through the fabric from multiple different directions, lightly fluffing the padded or filled sections with your fingers as you work. This breaks up damp clumps of down or wool fibers, letting moving hot air reach every individual fiber and carry away trapped moisture that would otherwise stay hidden deep inside the garment.
Footwear and Accessory Companion Drying
Seasonal leather boots, fabric sneakers, thick gloves, and knit hats that get damp during wet weather are also perfect candidates for this targeted drying approach. Insert a narrow airflow nozzle or simple paper tube into the deep inner cavity of the boot or glove, directing warm moving air all the way down to the toe or fingertip area where moisture most commonly accumulates. This eliminates the damp, stale odor that builds up inside enclosed footwear, and prevents the long-term moisture damage that causes leather cracking, inner lining mildew, and fabric degradation over repeated wet and dry cycles.
Post-Drying Garment Handling and Storage Preparation
Once all visible and hidden moisture has been fully removed, a few simple extra steps lock in the fresh, dry state and prevent the clothing from reabsorbing ambient humidity immediately after you finish. These small actions extend the length of time your seasonal clothing stays fresh, dry, and free of musty odors while waiting for their next use.
Quick Cool-Down and Fiber Setting Period
After the last pass of warm air, shake the garment out gently and hang it in open moving room air for 10 to 15 minutes to let all fabric fibers cool down completely before folding or storing. If you pack the item away immediately while it is still slightly warm from the blower, trapped residual heat can create tiny pockets of condensation inside the sealed storage bag, undoing all the drying work you just completed. This short cool-down window lets the fabric fiber structure reset to its natural relaxed state, so no temporary heat-induced creases or shape distortions get permanently set into the garment.
Hidden Moisture Verification Check
Before moving the garment into long-term storage, press the palm of your hand firmly against all thick seams, inner pocket linings, and layered padded sections for several seconds. If any spot feels even slightly cool against your skin, that is a clear sign residual hidden moisture is still present, and you need to go back for another short targeted drying pass. Do not rely only on surface touch to judge dryness, as the outer fabric can feel completely dry long before the deep inner layers have released all their trapped moisture.
Ventilated Storage Transition
Once fully dried and cooled, place the seasonal clothing in a breathable fabric storage container rather than a completely airtight plastic bag, unless you are absolutely certain the surrounding storage environment stays consistently low in humidity. Adding a small amount of extra open airflow space around each stored garment prevents new ambient moisture from getting trapped against the fabric surface, preserving the fully dry, fresh state you achieved with targeted hot air blower drying until the next time you need to pull the seasonal pieces out for use.