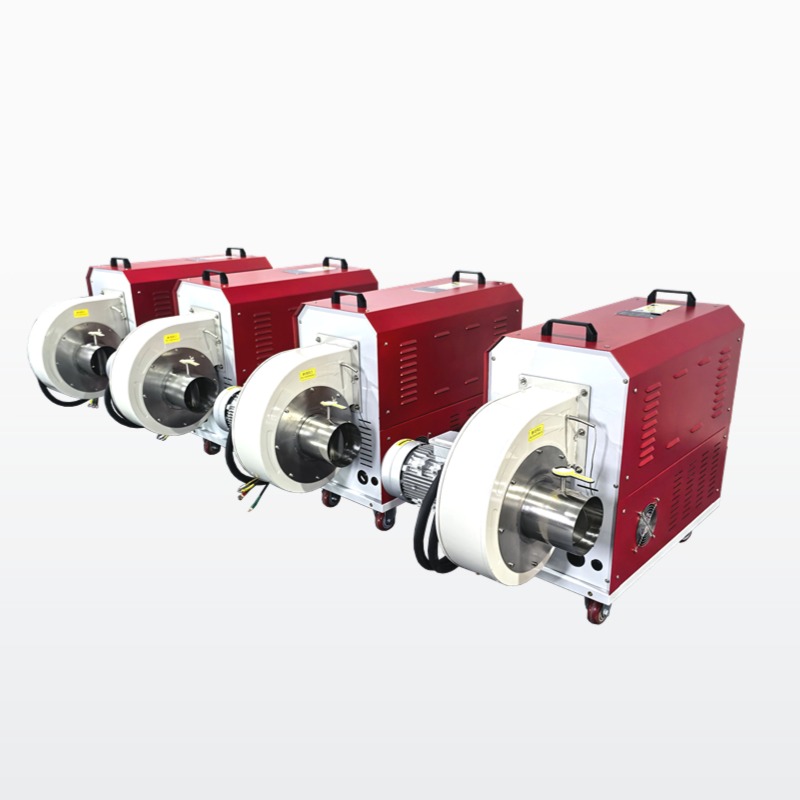
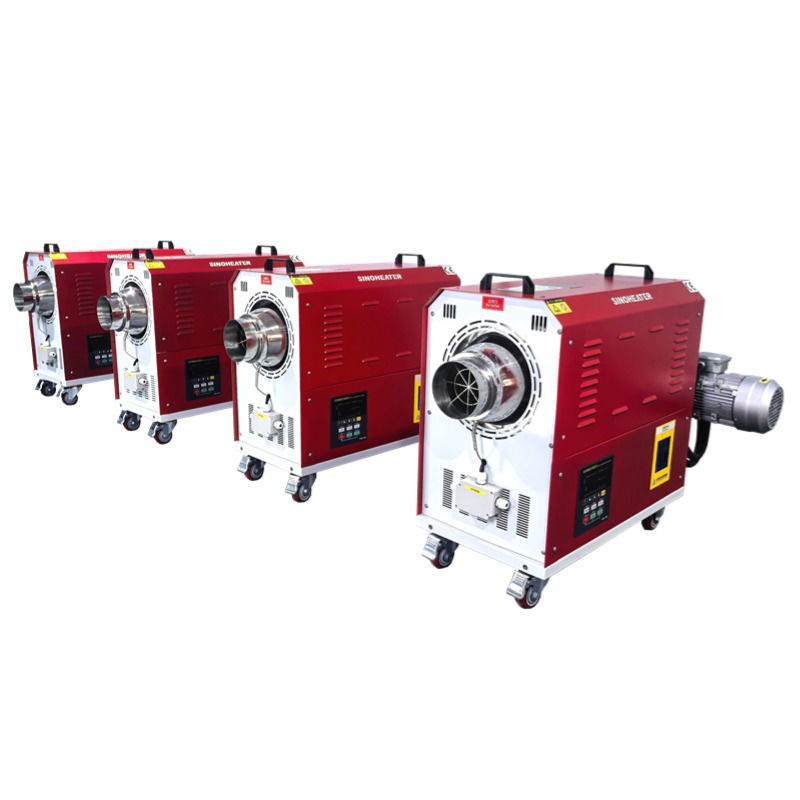
Hot Air Blower Post-Storage Startup: What to Check Before You Trust It Again
You pull the blower out of storage. It looks fine. You plug it in. It turns on. You think everything is good. But six months of sitting idle does things you can’t see from the outside. Moisture crept into places it shouldn’t be. Dust settled on components that need to stay clean. Rubber parts dried out. Connections oxidized. The blower might run — but it might not run right.
Skipping a proper post-storage check is the fastest way to turn a stored blower into a field failure. Here’s what actually needs to happen before you put it back into production.
What Storage Actually Does to a Blower From the Inside
Moisture Condensation Hits the Worst Spots
When a blower cools down after its last use and sits in storage, the temperature inside the housing drops below the dew point. Moisture condenses on the coldest surfaces — usually the heating element, the motor windings, and the control board. That moisture doesn’t evaporate on its own in a sealed storage space. It sits there, slowly oxidizing copper windings and corroding solder joints.
By the time you power it up, that oxidation has already weakened the connections. The motor might run, but it draws more current than it should. The control board might glitch because a corroded trace can’t carry signal cleanly.
Dust Creates a Second Problem Layer
During storage, fine dust works its way through every gap in the housing. It coats the fan blades, clogs the air intake, and settles on the heating element. When you first fire up the blower, that dust heats up instantly. It burns. It smells. And that burning residue coats the inside of the air channel, reducing airflow from the very first second of operation.
Rubber and Seal Components Lose Their Grip
Gaskets, O-rings, and cord insulation all degrade when they sit under compression for months without any thermal cycling. The rubber dries, hardens, and loses its ability to seal. A gasket that was airtight six months ago might now let air leak past it. That leak changes the internal pressure balance and affects both airflow and temperature stability.
The Startup Sequence That Catches Problems Early
Power On Without the Nozzle First
Never attach the nozzle for the first run. Leave it off. Plug the blower in and turn it on at the lowest temperature and lowest fan speed. Let it run for three to five minutes. Listen. A healthy motor hums smoothly. A motor with moisture in the windings clicks, groans, or smells like burning insulation. If you hear anything unusual, shut it down immediately and let it dry for another hour before trying again.
Watch the housing temperature with your hand — not a thermometer, your hand. It should warm up evenly. If one spot gets noticeably hotter than the rest, something inside is wrong. A hot spot on the motor housing usually means a winding issue. A hot spot near the control board usually means a corroded trace drawing too much current.
Run Through Every Temperature Setting
After the low-speed warm-up, cycle through each temperature setting. Start low, go up in 50-degree increments, hold each for two minutes. At every step, check the blower’s display reading against a reference thermometer pointed at the nozzle exit. If the display says 150°C but the reference reads 130°C or 170°C, the temperature sensor drifted during storage. Document the offset and compensate until you can recalibrate it properly.
Also watch how fast the blower reaches each setpoint. A blower that used to hit 200°C in 45 seconds might now take 90 seconds. That slow ramp-up usually means the heating element has developed micro-cracks from thermal shock or oxidation. It still works, but it’s degraded.
Test the Fan at Every Speed
Switch the fan to each speed setting and hold it for a minute at each. The airflow should increase noticeably with each step. If the fan stutters, vibrates, or doesn’t change speed, the motor bearings may have seized slightly from sitting idle. Light vibration is normal after long storage. Heavy vibration or grinding is not.
Check the airflow at the nozzle with a vane anemometer if you have one. Compare it to the spec sheet. If it’s more than 15 percent below the rated value, clean the fan blades and the intake grille before running any further tests.
Specific Things to Inspect Before Trusting the Blower Again
Check the Power Cord and Plug
Pull on the cord gently near the plug and near the blower entry point. Any cracking, stiffening, or discoloration means the insulation has degraded. A compromised cord can short out under load, especially after sitting in a damp storage space. If there’s any doubt, replace the cord before using the blower.
Open the Housing and Look Inside
Remove the intake grille if possible. Shine a light inside. Look for dust on the fan blades, discoloration on the heating element, or any sign of moisture droplets on the motor windings. If you see moisture, don’t power it up. Dry it out with compressed air and let it sit in a warm dry room for at least 24 hours before trying again.
Check the heating element for white or gray spots — that’s oxidation. Light oxidation can be cleaned off with fine sandpaper. Heavy oxidation or pitting means the element needs replacement.
Verify All Safety Functions
If the blower has a tip-over shutoff, test it. Tilt it past the trigger angle and confirm the power cuts immediately. If it has a thermal fuse or overheat protection, those should have tripped during storage if anything went wrong. If they didn’t trip and the blower shows signs of internal damage, the safety circuit may have failed silently. Test every safety feature before the blower goes back to production.
How to Prevent Storage Damage Next Time
The best post-storage check is a good pre-storage check. Before you put the blower away, clean it thoroughly, dry it completely, seal it in a bag with desiccant, and disconnect the cord. If you did that last time, this startup will be a five-minute formality instead of a two-hour troubleshooting session.
But if you didn’t — and most people don’t — then this startup sequence is your safety net. It won’t catch everything. But it will catch the big problems before they reach your workpiece and ruin your shift.
Take the ten minutes. Run the checks. Write down what you found. And when the blower passes every test, you’ll know it’s actually ready — not just turned on, but ready.