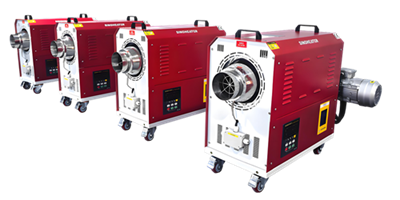
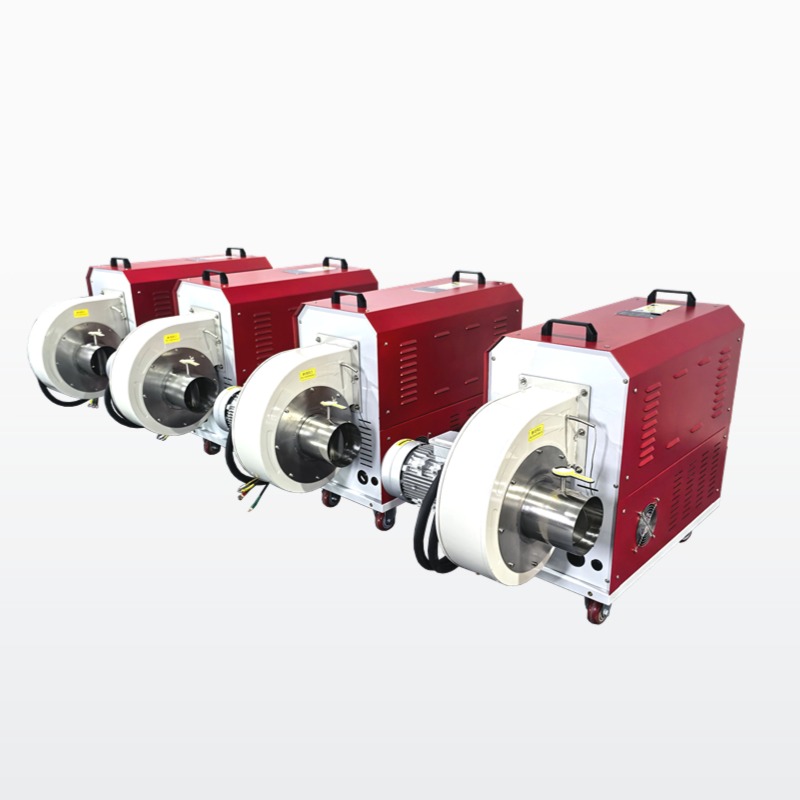
Regular wiring inspection for electric hot air blowers is a critical routine task to prevent electrical hazards, extend equipment service life, and keep the heating system running reliably in long-term daily use.
Pre-Inspection Safety Preparations
Before you start any wiring check, make sure to cut off the full power supply of the hot air blower completely, and lock the main circuit breaker in the off position to avoid accidental power connection during the inspection process.
Wait for at least 30 minutes after power off to let all internal components of the equipment cool down fully, so you can avoid accidental burns from residual high temperature on the heating elements or surrounding metal parts.
Prepare basic insulated hand tools that meet electrical safety standards, including insulated screwdrivers, non-contact voltage testers, and clean dry cloths, and never use tools with damaged insulation layers that may expose you to electric shock risks.
Clear the area around the hot air blower first, move away any flammable debris, stacked items or loose fabrics near the wiring sections, to make sure you have full access to every connection point without obstructions.
Visual and Tightness Check for Wiring Terminals
Go through every wiring terminal along the power supply path, including the connection points on the main power inlet, the control panel, and the heating element terminals inside the equipment housing.
Check each terminal screw one by one, and tighten every loose screw gently with the insulated screwdriver. Long-term operation of the hot air blower will generate continuous heat and slight vibration, which often makes terminal screws loose gradually, and loose connections will create extra contact resistance that leads to local overheating.
Look closely at the surface of each terminal, watch for any signs of blackening, scorch marks, or melted plastic around the connection points. These marks are clear signals of past overheating that need further handling to prevent more serious faults later.
Take a photo of the original wiring layout before you make any adjustments, so you can put every wire back to its correct position accurately if you accidentally move any connection during the inspection.
Insulation and Hidden Wiring Troubleshooting
Check the outer insulation layer of every exposed wire carefully, look for signs of aging, hardening, cracking, discoloration or brittleness on the wire surface. If you find any part of the metal core is exposed, replace the whole section of wire immediately instead of just wrapping it with insulating tape temporarily.
Use the non-contact voltage tester to scan every wiring section after you finish tightening the terminals, to confirm no unexpected live parts are exposed when the power is temporarily restored for a quick functional test.
Pay extra attention to the wiring sections that run close to the hot air outlet or the high-temperature heating chamber. These areas face long-term high temperature exposure, so their insulation layers degrade much faster than other parts, and you need to check them more frequently than other wiring sections.
Check the surrounding wiring environment regularly, make sure no dust, metal scraps or moisture accumulates around the wiring connections. These foreign substances can easily cause hidden short circuit risks when the hot air blower runs for a long continuous period.
Keep a simple log to record the date of each wiring inspection, the problems you found, and the adjustments you made. This record helps you track the aging trend of the wiring system, and remind you to arrange a professional full electrical check in time when you notice repeated similar issues.