
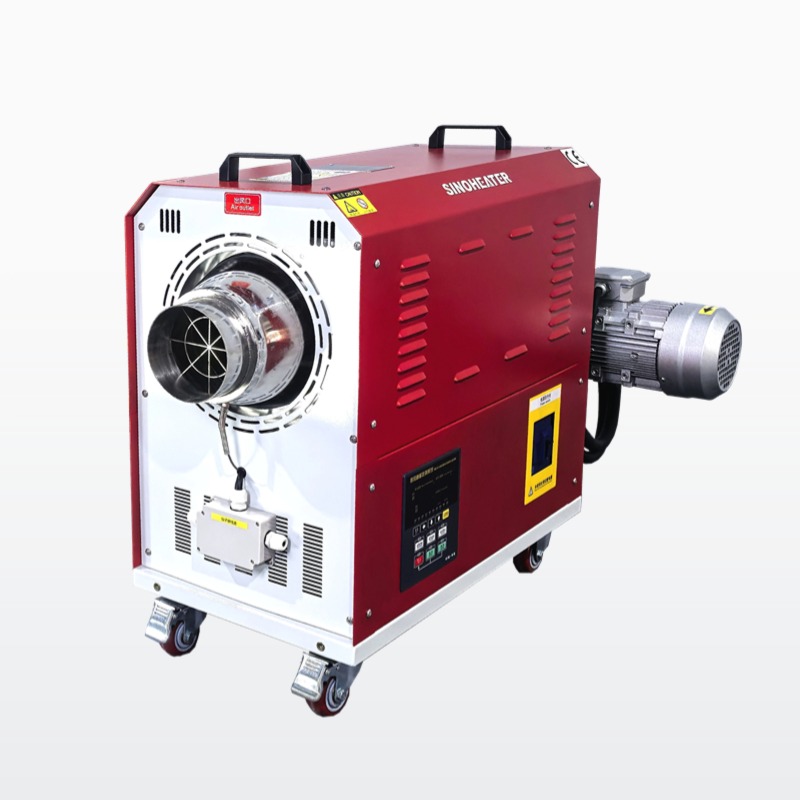
A proper detachable filter screen assembly method for hot air blowers balances easy daily maintenance, reliable sealing performance and long-term structural stability, making regular cleaning and part replacement far more convenient for operators. Every step of the process follows practical on-site operation habits, avoiding unnecessary complex tools or hidden installation errors that may cause later operational issues.
Pre-Installation Component Inspection and Preparation
Before starting any assembly work, first check all contact surfaces of the air inlet, filter screen frame and sealing elements for dust, burrs or residual deformation left from previous use. Wipe away any accumulated lint or fine particles on the mounting groove with a soft dry cloth, to make sure no foreign objects get trapped between the connection surfaces. Visually inspect the sealing gasket for cracks, permanent deformation or signs of aging, and confirm the mesh of the filter screen has no obvious tears or local damage that may reduce filtering performance. This quick pre-check step prevents most hidden problems that could lead to air leakage or loose installation after the assembly is finished.
Alignment and Positioning Operation
Place the filter screen assembly gently into the pre-cleaned mounting groove, and align the small positioning mark on the screen frame with the corresponding reference notch on the air inlet housing. Push the screen frame slowly along the guiding direction of the groove, until the entire outer edge of the screen makes full and even contact with the sealing gasket. Do not apply strong force at a single point during this process, as uneven pressure may tilt the screen frame and leave partial gaps that allow unfiltered air to flow directly into the blower. When the screen is pushed to the correct position, you will feel a slight uniform resistance across the whole edge, which confirms the sealing gasket has been compressed to the proper working state.
Locking and Post-Assembly Check
Fasten the reserved locking structures around the mounting groove one by one in a symmetric sequence, instead of tightening one side completely before touching the other. This symmetric operation keeps the even pressure distribution across the entire sealing edge, avoiding local deformation of the screen frame that may break the sealing effect. After all locking parts are secured, gently shake the outer edge of the filter screen by hand to confirm there is no loose movement or abnormal rattling. Do a quick visual check around the whole connection perimeter to make sure no part of the sealing gasket is squeezed out of the groove, and no gap is left between the screen frame and the air inlet housing. This final check ensures the assembly is fully stable and ready for normal operation.


