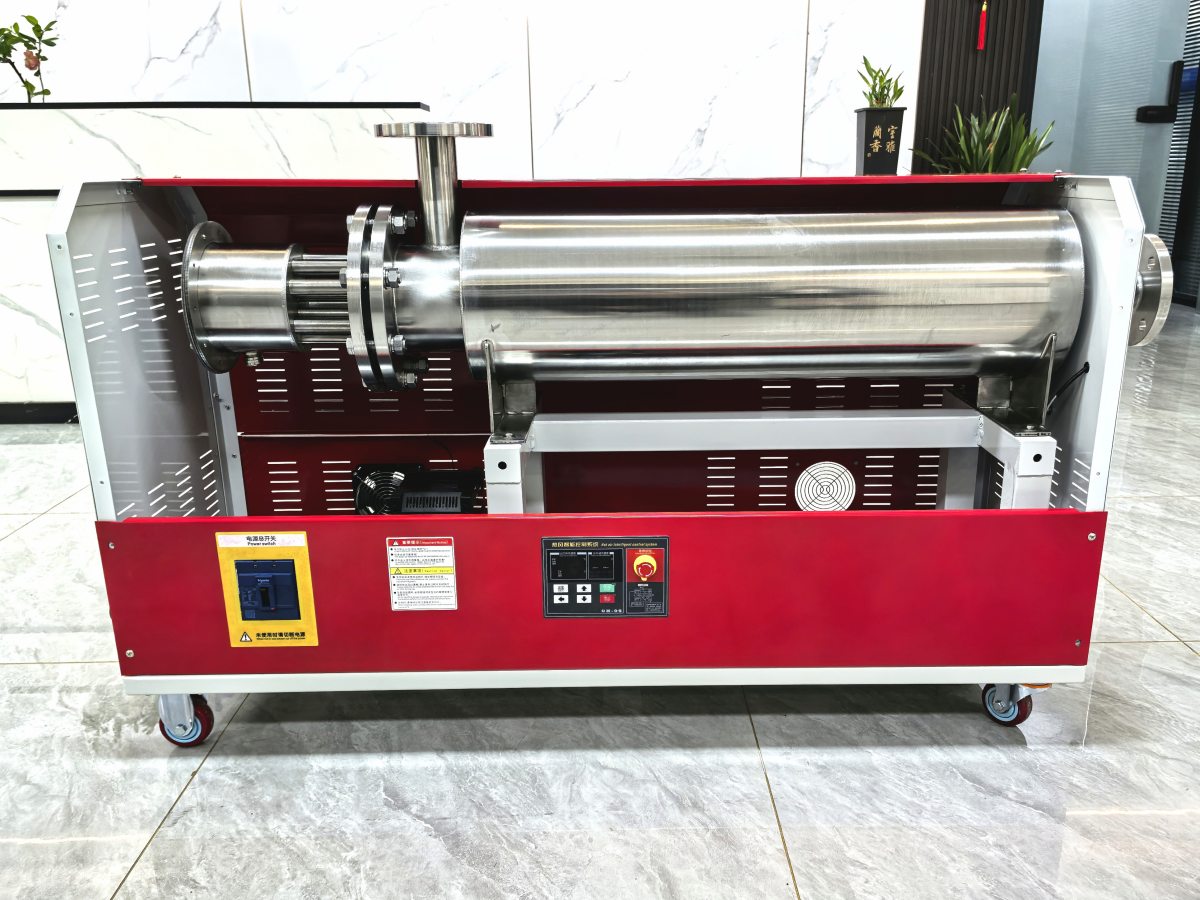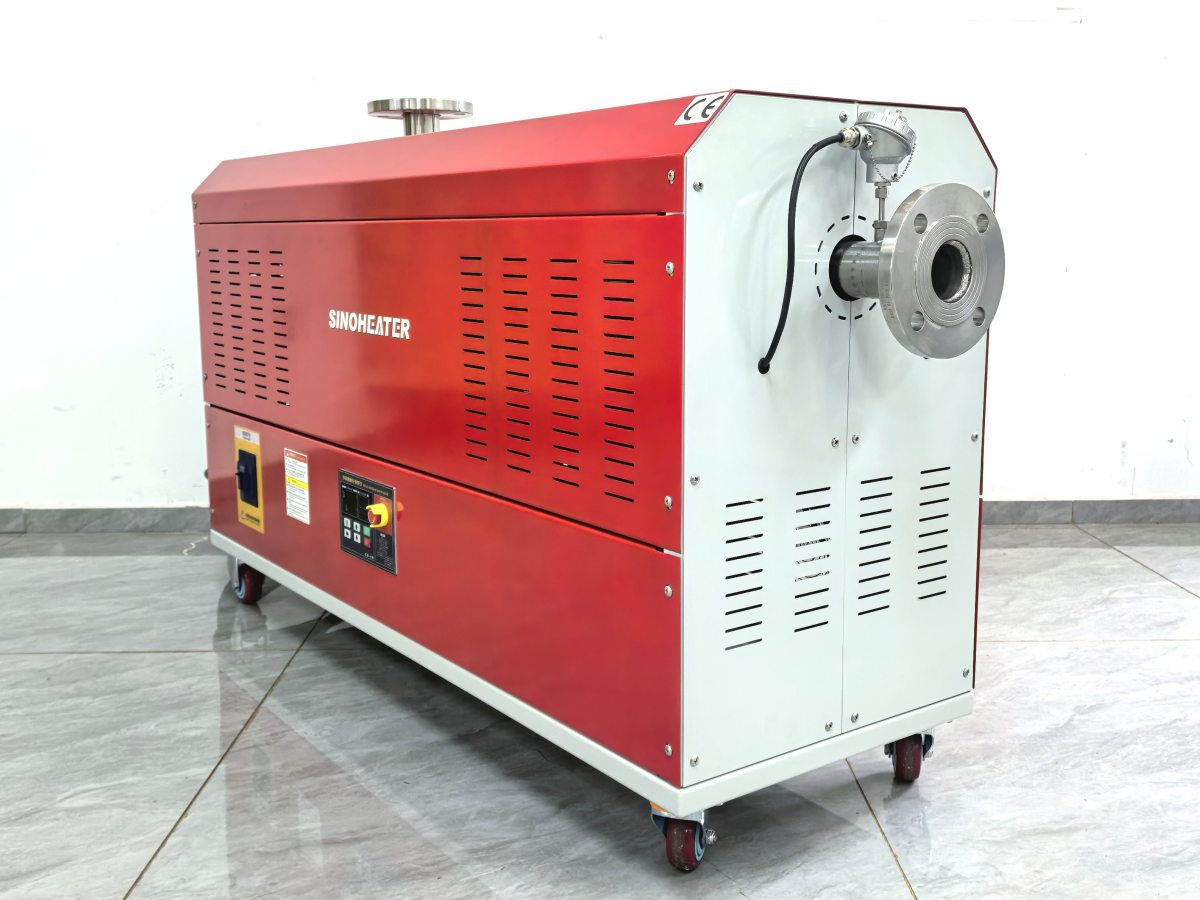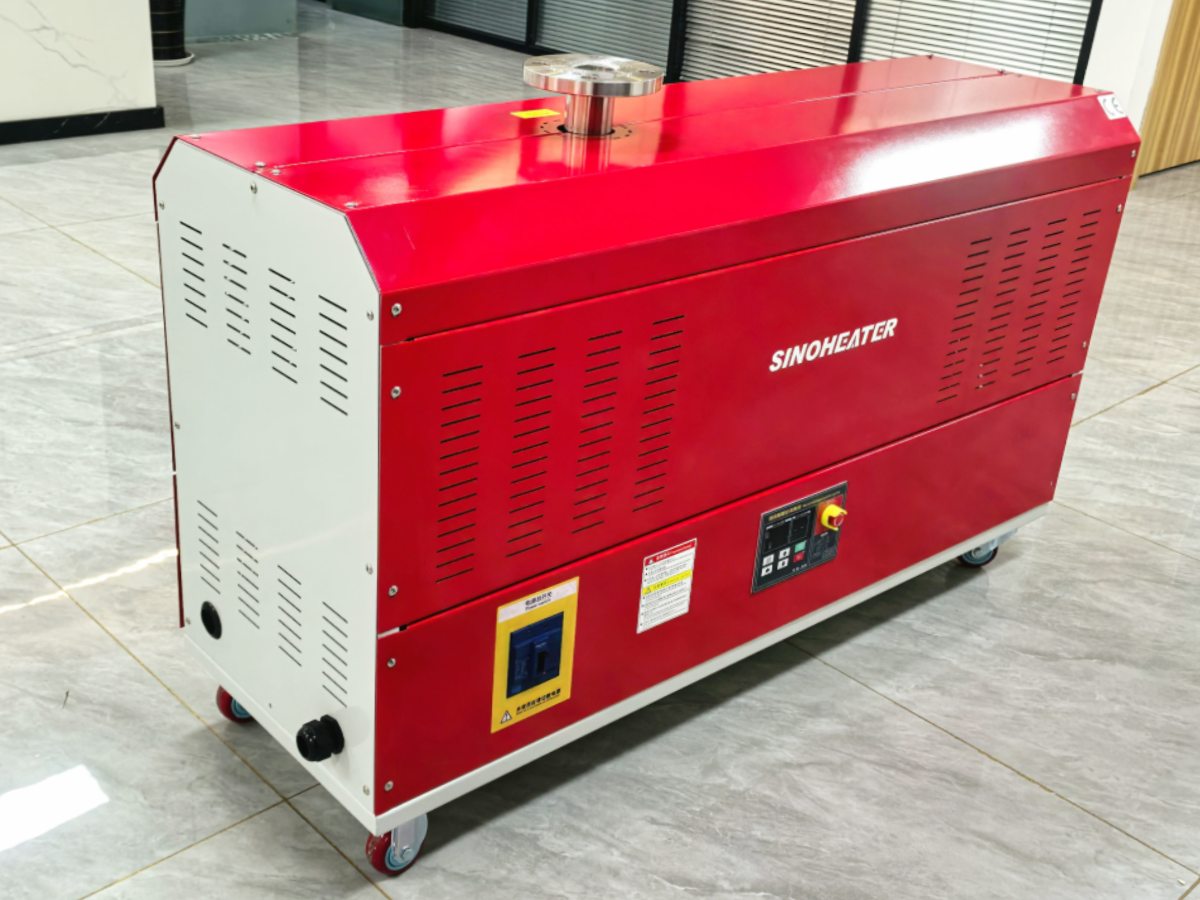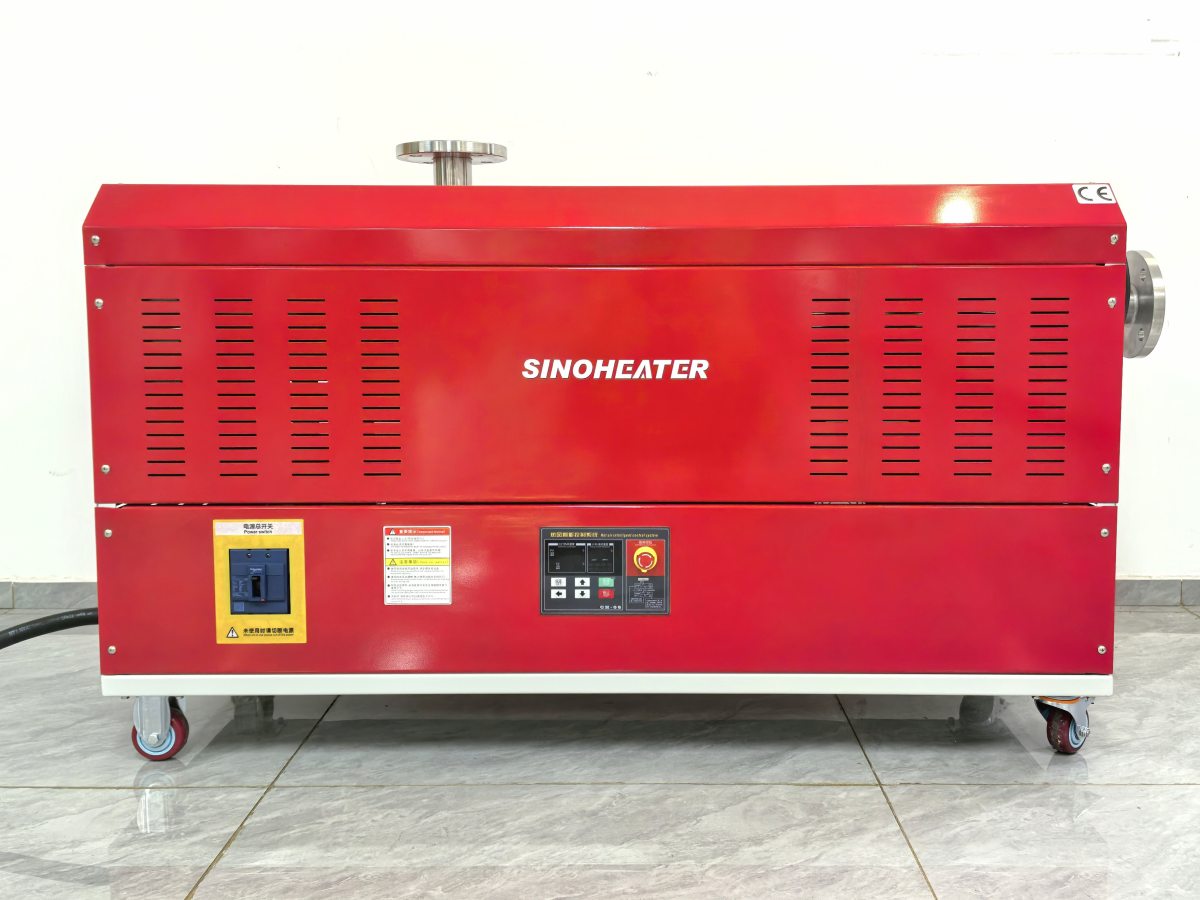
Drying laboratory samples in a consistent, controlled way is one of the most critical steps to guarantee accurate, repeatable test results across almost every field of experimental work. Uneven heat, sudden temperature spikes, or uncontrolled airflow can alter sample composition, skew moisture content readings, or even ruin delicate test materials that took weeks to prepare. Using a hot air blower system for laboratory sample constant temperature drying delivers steady, circulated heat that removes surface and internal moisture evenly, without the hot spots or stagnant air zones that often compromise sample integrity in simpler drying setups.
Calibrate temperature and airflow to match sample sensitivity
Different laboratory samples have wildly different heat tolerance levels, and a one-size-fits-all drying setting will easily destroy delicate test materials or produce inconsistent, unreliable data. For heat-sensitive samples like fine powders, biological specimens, or chemically reactive materials, you can use a lower, carefully stabilized temperature paired with gentle, low-speed airflow to slowly draw out moisture without disturbing the sample structure or triggering unintended chemical changes. For more robust, high-heat tolerant samples like solid metal parts, ceramic fragments, or non-volatile industrial test materials, you can use a higher target temperature and stronger airflow to speed up drying time without risking sample degradation.
Before you place any valuable test sample in the drying space, run a full empty-chamber temperature mapping test to confirm that the target temperature stays consistent across every shelf and every corner of the working area. This test will reveal any hidden cold spots or unexpected hot zones that you would never spot from a single built-in temperature reading, so you can adjust airflow direction or blower speed to smooth out any unevenness before you introduce any actual samples. This small pre-test step eliminates a huge number of avoidable experimental errors that happen when a sample sits in an unrecognized temperature zone that does not match your recorded set point.
Structure staged drying cycles to avoid sample disruption
A well-planned constant temperature drying process does not dump full heat and maximum airflow onto the sample the moment you close the chamber door. Many samples that hold high levels of surface moisture can develop a hard, sealed outer crust if exposed to sudden high heat, which traps internal moisture inside and prevents it from escaping even after hours of drying time. A staged cycle opens with a low initial temperature and gentle airflow, to slowly evaporate surface moisture gradually, before ramping up to your full target drying temperature once the surface of the sample is no longer damp.
For samples that are highly prone to shifting, blowing away, or cross-contaminating other nearby test materials, you can place them in covered, vented sample containers that let moist air escape while preventing loose fine particles from being scattered around the chamber by strong airflow. You can also pause the cycle at pre-set intervals to weigh the sample and track moisture loss progress, so you know exactly when the sample reaches a fully dry, stable state instead of guessing at total required drying time. This level of control ensures you never under-dry or over-dry your samples, and every batch you process follows the exact same consistent sequence that produces fully repeatable results every time.
Maintain regular system checks to preserve long term drying accuracy
Even the most well-calibrated hot air drying system will drift slowly over time if you skip simple, routine maintenance steps that keep its performance stable. Check the temperature sensors on a regular schedule against a calibrated reference thermometer, to confirm the displayed temperature matches the actual air temperature circulating around your samples, and make small adjustments if any drift is detected. Clear out any accumulated dust, sample residue, or lint that builds up around the blower intake vents and circulation paths, because even a small layer of trapped debris can disrupt smooth airflow and create unexpected dead zones inside the drying chamber.
After every high-volume drying run, wipe down all internal chamber surfaces to remove any leftover sample dust or chemical residue that could contaminate the next batch of different test materials. Keep a simple log that tracks every calibration check, maintenance task, and any small adjustments you make to temperature or airflow settings over months of use. This record helps you spot slow, gradual performance changes before they start affecting your sample results, and ensures your drying process stays consistent, reliable, and fully aligned with strict laboratory testing standards for years of regular use.