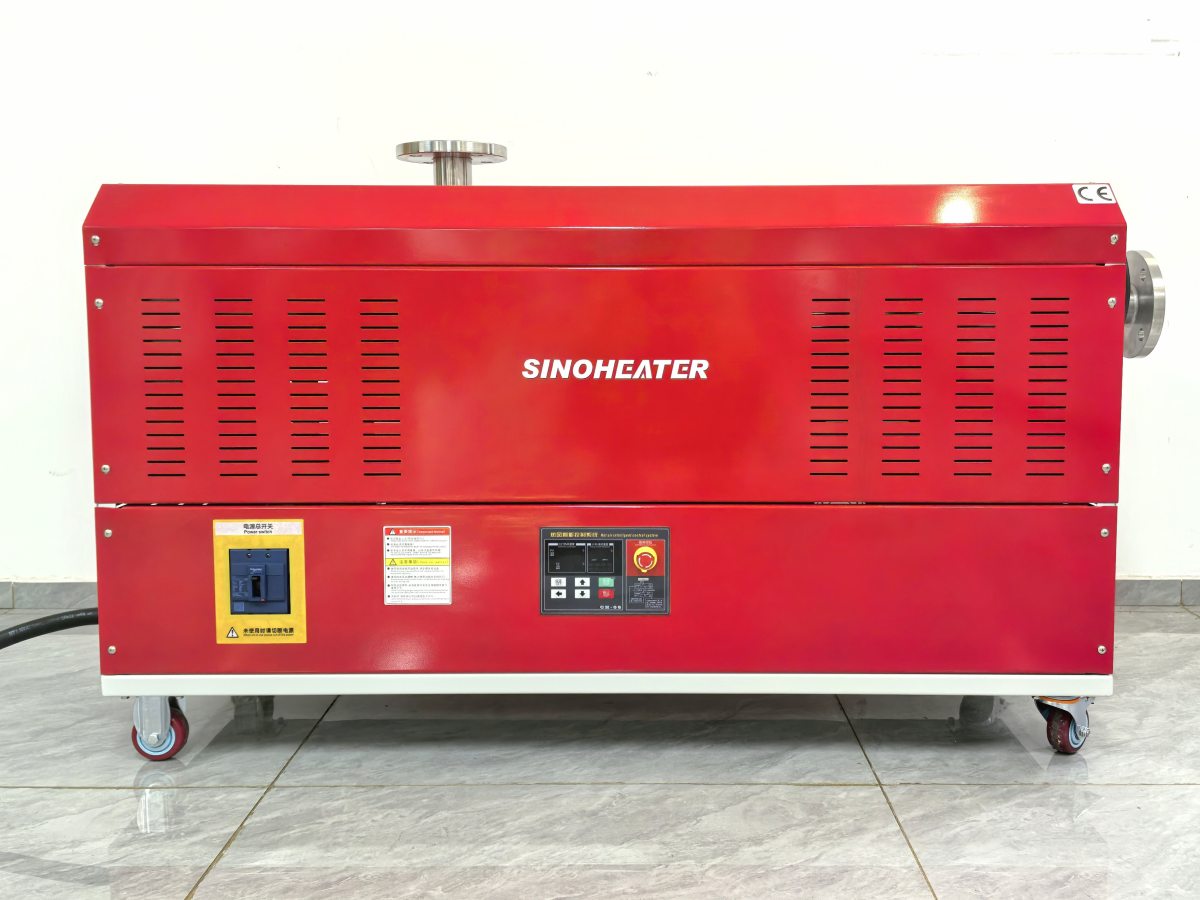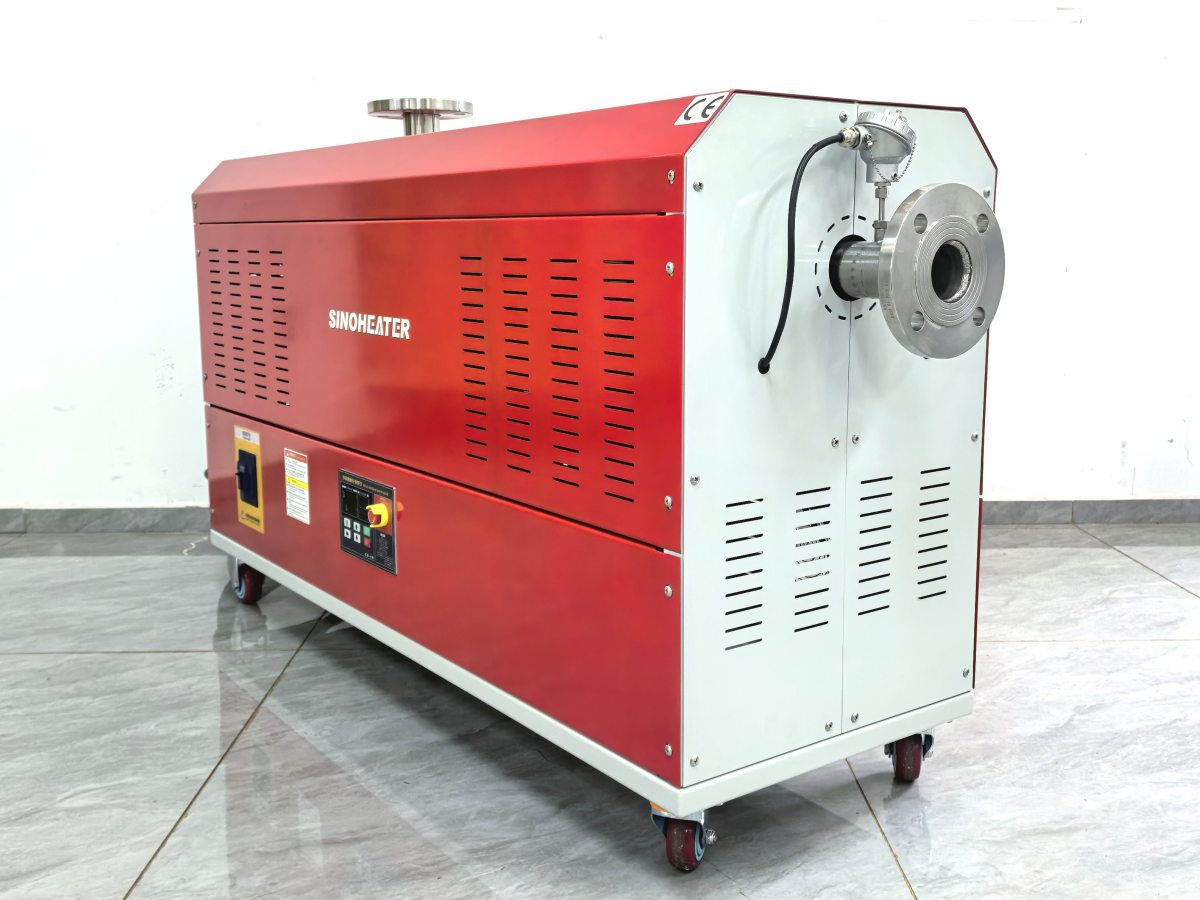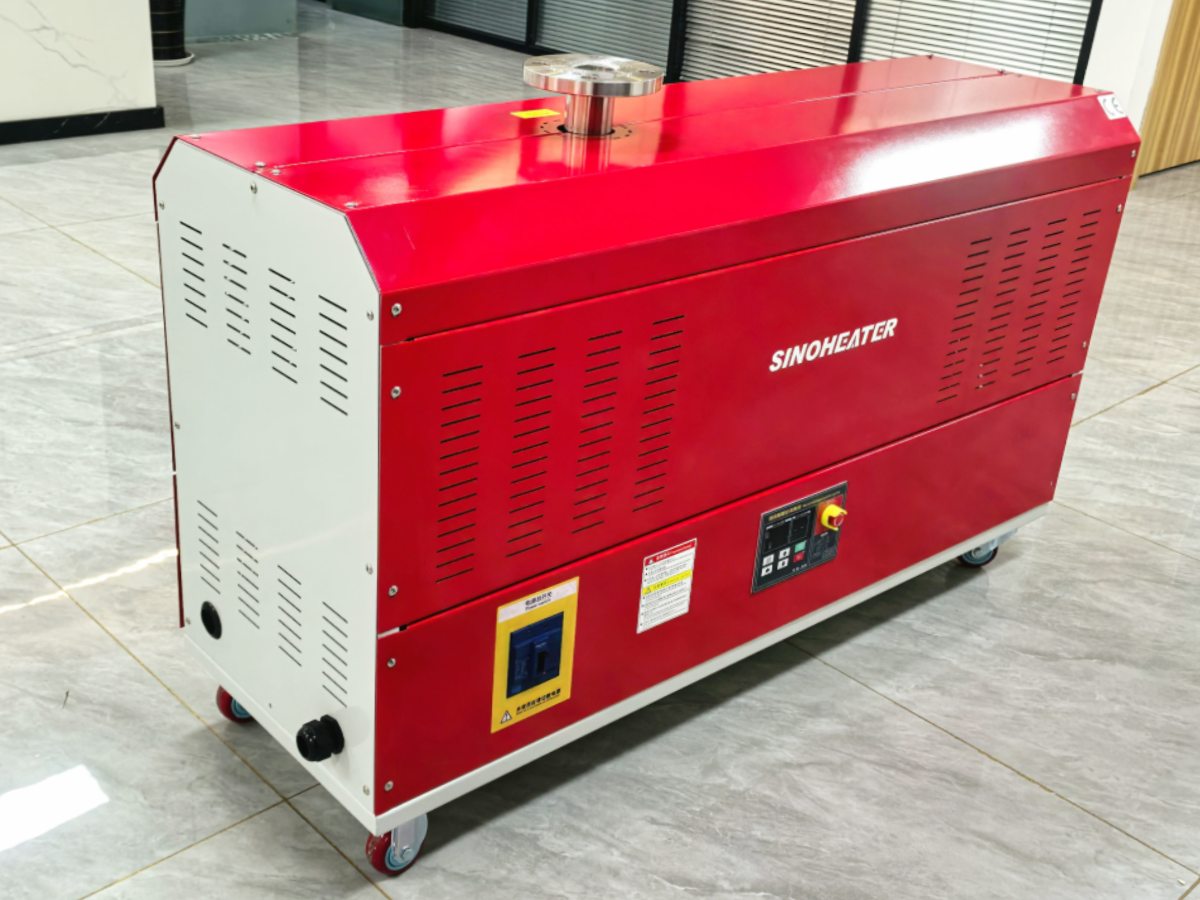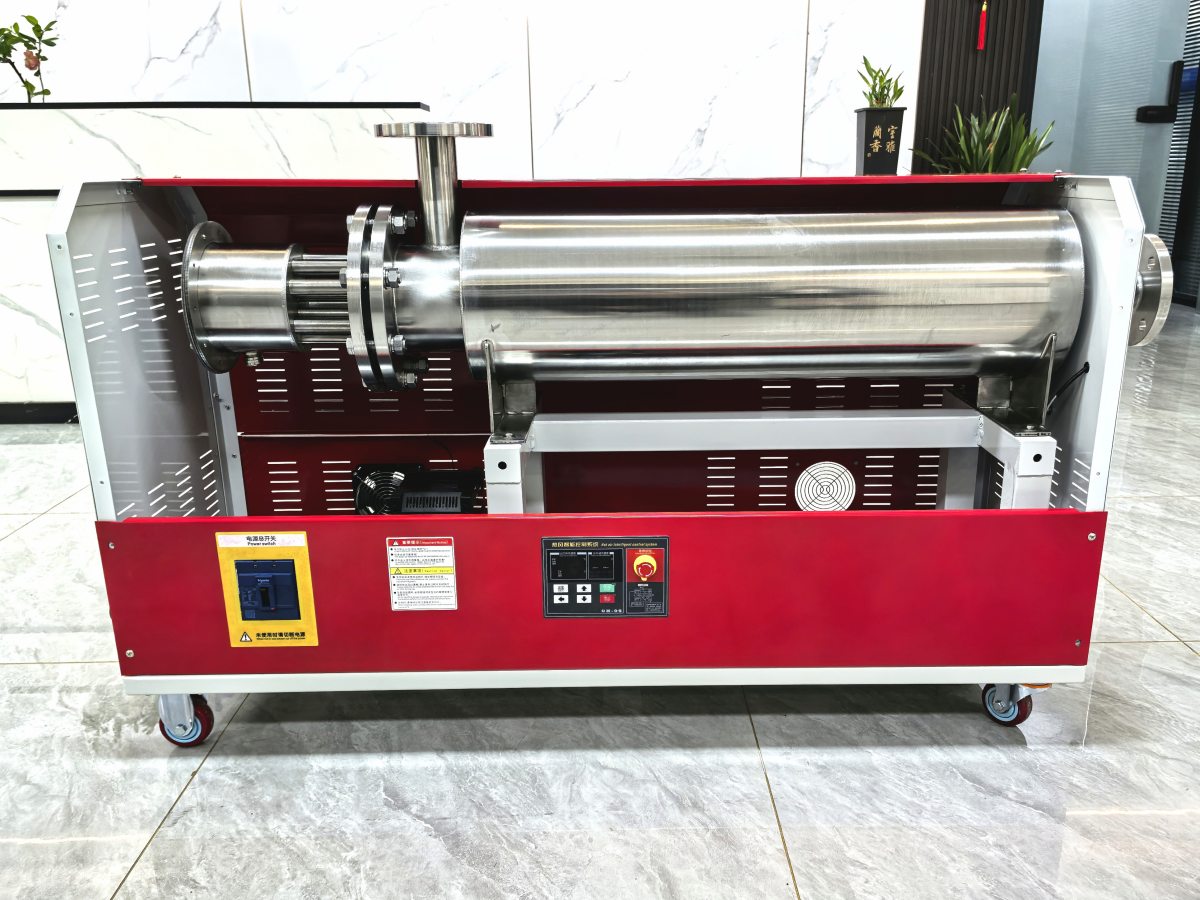
Working with foam materials often creates frustrating tradeoffs between cutting speed, edge smoothness, and material waste. Traditional mechanical saws and blades leave ragged, crumbly edges, push delicate foam out of alignment, and generate piles of fine, messy dust that clogs workspaces and slows down production. Using a hot air blower for foam material hot air cutting shaping directs targeted, controlled heat to melt through the material along a precise path, leaving behind a clean, sealed edge that requires almost no secondary finishing work, and letting you create complex custom shapes that are nearly impossible to pull off with standard mechanical cutting tools.
Match airflow and temperature to your specific foam material properties
Not all foam materials respond to heat the same way, and picking the wrong temperature or airflow setting will easily leave you with charred edges, melted mess, or shapes that warp out of tolerance moments after you finish cutting. Low-density soft foam melts at a far lower temperature, so you can use a gentler airflow and lower heat setting to glide through the material without overheating the surrounding area. Dense, closed-cell foam that resists heat needs a higher, more consistent temperature paired with a steady, focused airflow, to make a clean, full-depth cut without leaving partially melted material stuck to the shaping path.
Before you start any full production run, always run a few quick test cuts on a leftover scrap of your exact foam material, to dial in the perfect balance of heat and airflow. This small test step helps you avoid burning through material too fast, or dragging the hot air stream too slow and creating thick, uneven melted edges that ruin the final shape. Even small adjustments to the distance between the blower nozzle and the foam surface can make a huge difference in cut quality, so take a minute to test different standoff distances until you find the sweet spot that delivers a smooth, consistent edge every single time.
Align travel speed with heat output to maintain precise shape control
The speed you move the hot air stream across the foam directly defines how clean, sharp, and dimensionally accurate your final cut will be. If you move too fast, the heat does not have enough time to penetrate all the way through the full thickness of the foam, leaving uncut, torn material along the bottom edge that you will have to trim away later. If you move too slow, the excess heat spreads far past your intended cutting path, melting away extra material, rounding sharp corners, or warping thin sections of your finished shape out of their exact intended dimensions.
For complex shapes with tight curves, sharp inner corners, and fine details, slow your travel speed down slightly in those high-precision areas, to make sure the heat fully penetrates the foam without rushing past the detail point. For long, straight cuts across large foam panels, you can keep a steady, consistent faster travel speed to maintain even heat distribution along the full length of the cut, and avoid uneven, wavy edges that come from speeding up and slowing down randomly as you move across the material. This careful balance between travel speed and heat output is what separates rough, messy hot air cuts from clean, professional shapes that fit together perfectly with other parts of your project.
Optimize nozzle setup to reduce waste and expand shaping flexibility
The way you position and shape the airflow coming out of the blower nozzle has a huge impact on what kinds of shapes you can create, and how much foam material you end up wasting during processing. A narrow, concentrated nozzle lets you carve fine, intricate details and make thin, narrow cuts that remove almost no excess material, so you can nest dozens of small custom shapes tightly together on a single large foam sheet and cut down on leftover scrap. A wider, spread-out airflow nozzle works far better for smoothing and shaping broad curved surfaces, melting away thin layers of foam evenly to create a seamless, contoured finish without rough, uneven spots left behind by sanding or grinding.
You can also adjust the angle of the air stream relative to the foam surface to create angled beveled edges, rounded profiles, or custom surface textures that would take hours of manual work to produce with traditional tools. Always make sure your work area has enough gentle, well-ventilated airflow to carry away the small amount of fume created as the foam melts, so no residual vapor settles back onto the surface of your finished parts. These small setup adjustments turn a basic hot air cutting setup into a highly flexible shaping system that can handle almost any custom foam project you throw at it.