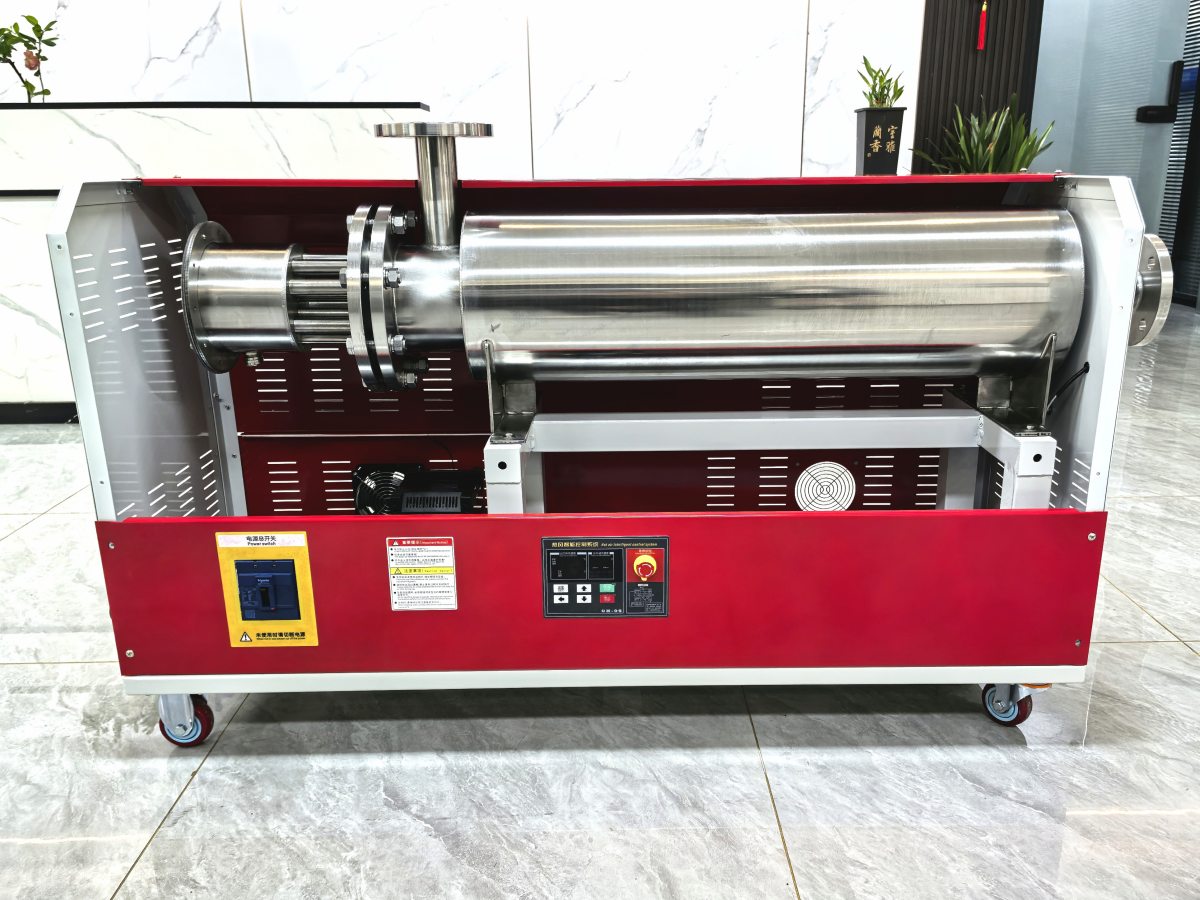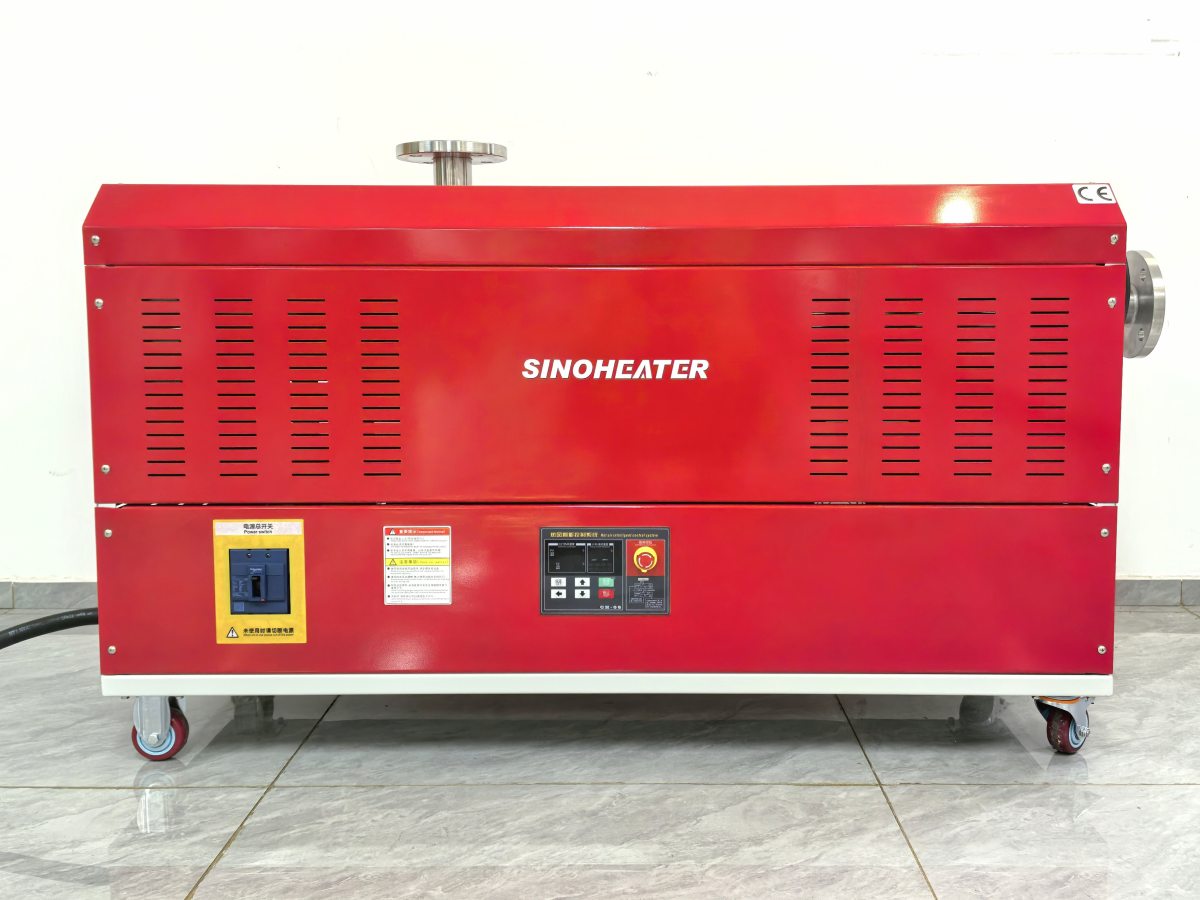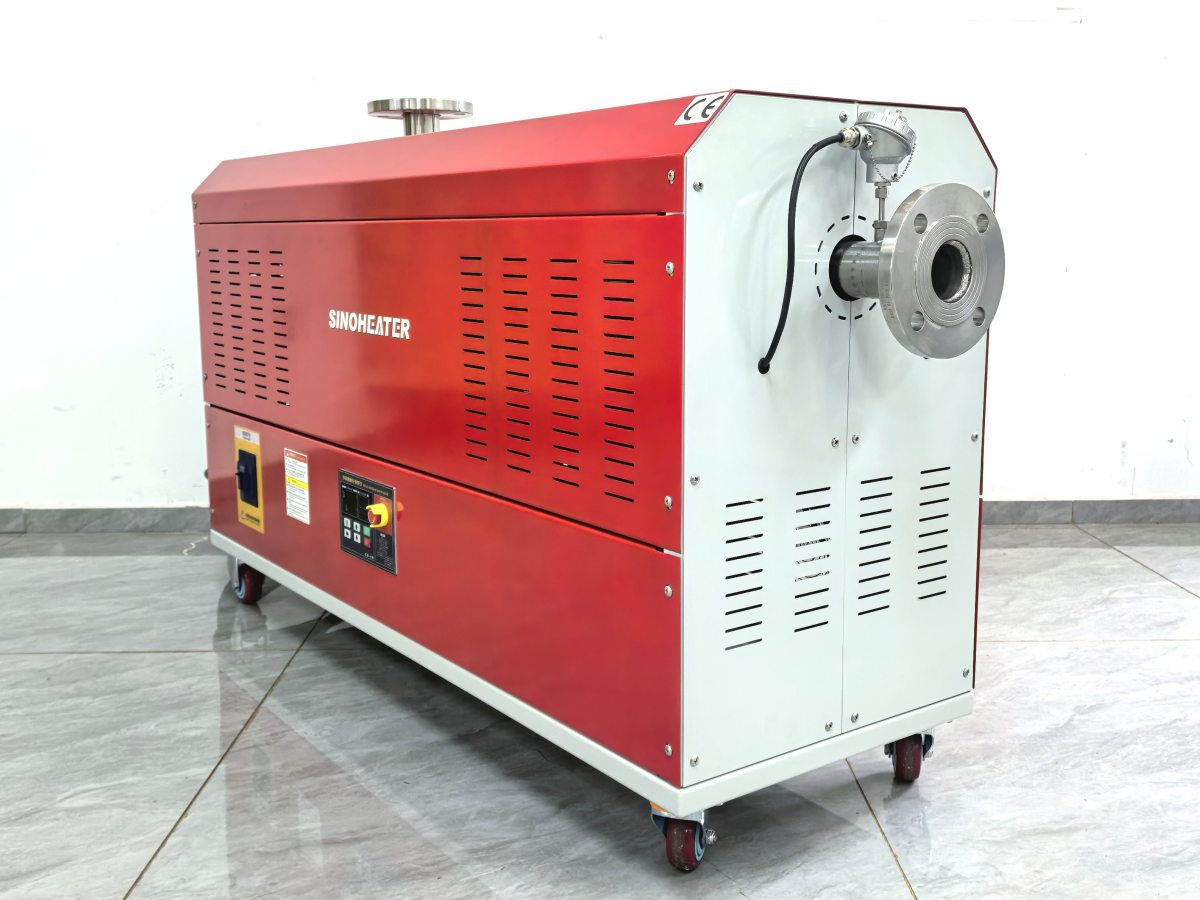
Surface moisture on precision parts can introduce subtle but impactful issues in subsequent manufacturing steps, including uneven coating adhesion, hidden corrosion, and dimensional inconsistencies that compromise final performance. Many production teams rely on controlled, targeted hot air delivery to eliminate this residual moisture without introducing unnecessary stress to delicate component surfaces. This approach supports consistent results across a wide range of part geometries, from tiny threaded fittings to complex multi-layer assemblies.
Key Mechanisms of Hot Air Drying for Precision Components
The process works by directing uniform, temperature-regulated airflow across every exposed surface of the part, accelerating the natural evaporation of trapped moisture without relying on direct physical contact. High-velocity air jets first move pooled water out of tight crevices, blind holes, and overlapping feature areas that would otherwise hold moisture long after flat surfaces are dry. The controlled heat then raises the ambient temperature around the part just enough to speed up evaporation, while carefully calibrated exhaust systems pull moist, saturated air away and replace it with cool, dry incoming air.
This method avoids common pitfalls of other drying approaches, such as leaving behind lint, fine particulate residue, or unintended thermal shock that could alter the part’s critical dimensions. For parts with extremely tight tolerance requirements, the gradual, even distribution of heat ensures no single section of the component expands or contracts faster than others, preserving the exact dimensional stability that downstream processes depend on.
Step-by-Step Implementation for Standard Drying Cycles
Begin the process by securing parts in a fixture that keeps all surfaces fully exposed, making sure no two components touch each other and no critical feature is pressed against a flat surface that could trap moisture underneath. Set the initial airflow direction to blow parallel to the part’s most complex, recessed features, so moving water is pushed out into open areas rather than driven deeper into hidden gaps. Start the air circulation at room temperature first, to blow away any free standing liquid before introducing any heat, reducing the total amount of thermal energy needed to complete full drying.
Gradually raise the temperature to the pre-determined safe range for the specific part material, and maintain consistent airflow speed throughout the main drying phase. For parts with internal flow paths or small cavities, adjust the air angle periodically to ensure every interior surface receives a steady stream of moving air. Once the main drying phase is complete, run a final cool air flush to bring the part back down to ambient workshop temperature slowly, preventing condensation from forming on the clean, dry surface when the part is removed from the drying station.
Common Troubleshooting Tips for Challenging Part Geometries
If residual moisture consistently remains in blind holes or deep threaded sections, add a short pre-drying step that directs focused airflow directly into these openings before starting the full cycle. This dislodges trapped water early, so the main heat phase can fully evaporate any remaining thin film of moisture rather than working against a larger pooled volume. For thin, fragile parts that are sensitive to even minor airflow vibration, reduce jet velocity slightly and extend total drying time, to avoid bending or micro-movement that could introduce unwanted stress.
Watch for visible signs of uneven drying such as faint watermarks left on polished surfaces, which usually indicate inconsistent air coverage across the part. Adjust the part rotation speed or reposition the fixture to create more uniform air distribution, so every surface receives equal exposure throughout the full cycle. Regularly inspect and replace intake filters to ensure the air being blown across parts stays completely free of dust, oil residue, or other fine contaminants that could settle on clean precision surfaces during the drying process.